Infinity allows you to setup specific printers per workstation for different types of documents. Setting default printers for different types of documents can allow all receipts to go to a receipt printer while all full-sized documents print on a normal printer.
Setup Document-Specific Printers
Set a Number of Copies to Print
Setup Default Printer
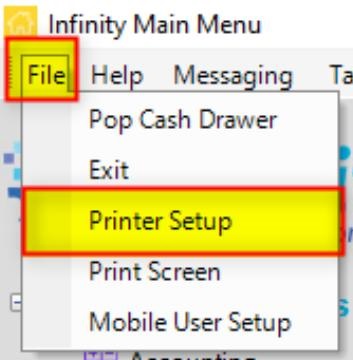
- Using the menu bar at the top of the program, click File.
- Choose the Printer Setup option. This will open the Select Printers screen.
- On the Select Printers screen, you can set a default printer.
- Select the printer you wish to use as default from the drop-down menu in the lower left of the screen.
Note: The default printer should always be a laser printer. Selecting a different type of printer may impact print speed.
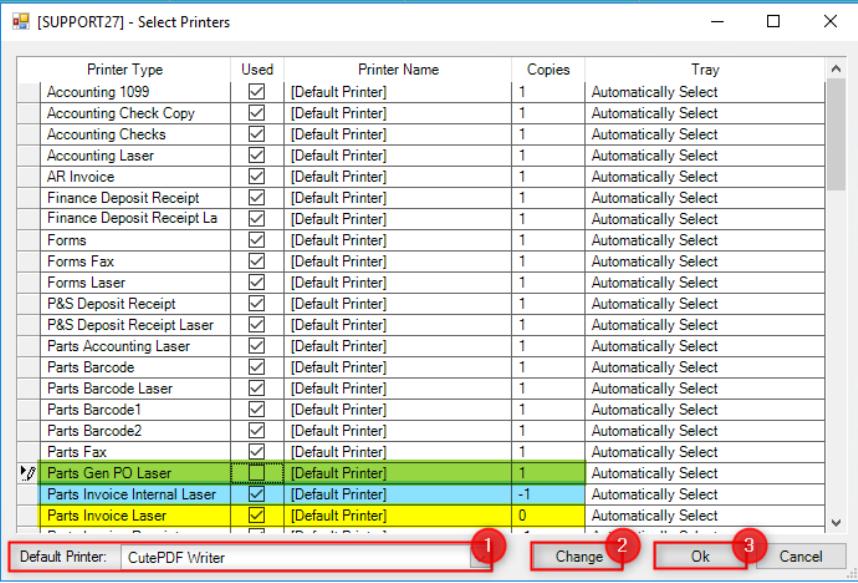
- Click the Change button to apply the change you’ve made.
- Select the OK button in the lower right. You may need to log out of the program entirely, then log back in for this screen to show the new selection.
| Important: If the printer you have chosen has (redirected) at the end of the name, this may impact your print speed. Redirected printers take longer to print. |
Setup Document-Specific Printers
- Using the menu bar at the top of the program, click File.
- Choose the Printer Setup option. This will open the Select Printers screen.
- On the Select Printers screen, you can set a specific printer where each type of document will print. Locate the document which you want to change the print location.
- Click the drop-down arrow to the right of the printer name.
- Choose the printer for this document from the list. Repeat this action for each document you wish.
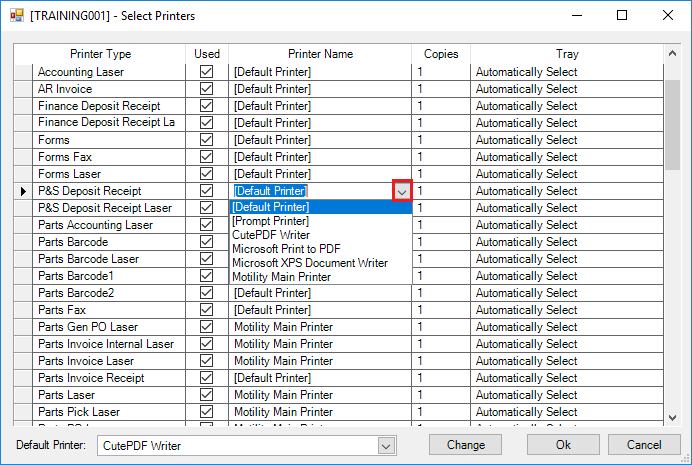
- Select the OK button in the lower right.
List of Documents
- Parts Invoice Receipt: Prints the Parts Invoice 3x5 receipt of a Parts Invoice
- Forms: Oki-data Printer
- Forms Laser: Standard printer with Laser Ink
- Forms Fax: Fax Printer
- Parts Invoice Internal Laser: Parts Invoice Internal with Laser Ink
- Parts Invoice Laser: Parts Invoice with Laser Ink
- Parts Pick Laser: Parts Pick List with Laser Ink
- Parts PO Laser: Parts Purchase Order with Laser Ink
- Parts RE Laser: Parts Receiving with Laser Ink
- Parts Barcode: Barcode Printer Oki data
- Parts Barcode Laser: Barcode Printer with Laser Ink
- Parts Accounting Laser: Parts Accounting Invoice with Laser Ink
- Parts Fax: Parts Fax Printer
- P&S Deposit Receipt: P&S Deposit Receipt standard printer
- P&S Deposit Receipt Laser: P&S Deposit Receipt with Laser Ink
- Service Laser: Service with Laser ink
- Service Invoice Laser: Service Invoice with Laser Ink
- Service Hard Copy: Service Mechanic Hard Copy Standard
- Service Invoice Internal Laser: Service Invoice Internal Invoice with laser ink
- Service Accounting Laser: Service Accounting Copy with Laser Ink
- Service Fax: Service Fax Printer
- Service Invoice Receipt: Service Invoice 3x5 Receipt Printer
- Accounting Checks: Accounting Checks Printer Standard
- Accounting Check Copy: Accounting Check Copy Printer Standard
- Accounting Laser: Accounting with Laser Ink
- Accounting 1099: Accounting 1099 Forms Printer
- Finance Deposit Receipt: Finance Deposit 3x5 Receipt Printer
- Finance Deposit Receipt Laser: Finance Deposit 3x5 Receipt with Laser Ink
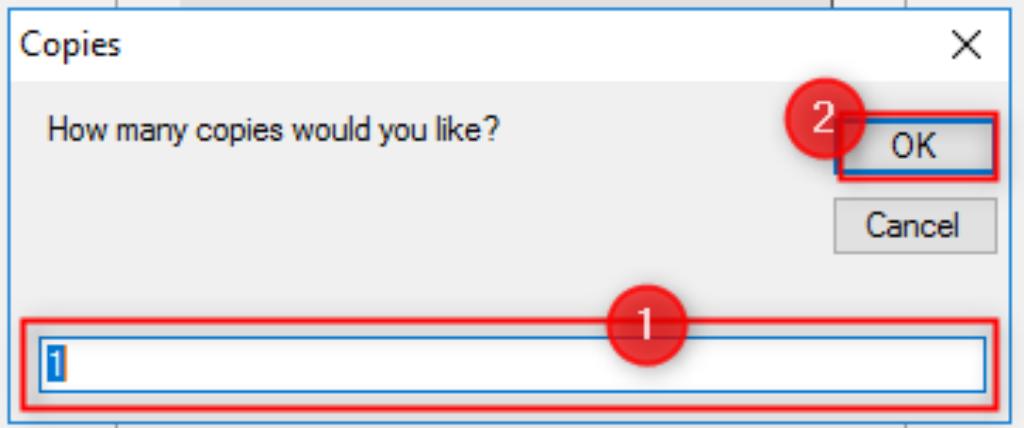
Set a Number of Copies to Print
You can set a specific number of copies to print for each document. By default, the number of copies is set to 1.
- Using the menu bar at the top of the program, click File.
- Choose the Printer Setup option. This will open the Select Printers screen.
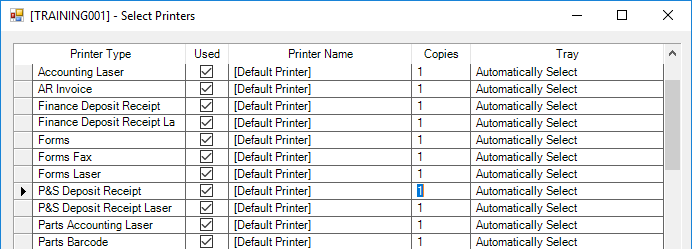
- Locate the document that you wish to change the number of copies in the list.
- Click in the copies field for the document.
- Enter the number of copies you wish to print.
- If you do not want copies to print – Uncheck the box in the Used column.
- 0 copies will only print one even when other items can print. Only the selected one item will print. Normally used for Accounting items.
- If you want to choose how many copies each time – Enter a minus sign (-) followed by the default you want to show when prompting to print. For example, if -1 is entered, the prompt will appear as below.
- Select the OK button in the lower right.