| Part Profile Buttons | |||
| Part Profile Tabs | |||
Part Profile Buttons
There are several buttons at the bottom of a part profile when accessed.

Add Part
Select this button to start adding a part to your inventory.
Previous / Next
When you have searched for a part and wish to move between the results, you may use the previous and next buttons to move to the record just before or after the current record in the list of results.
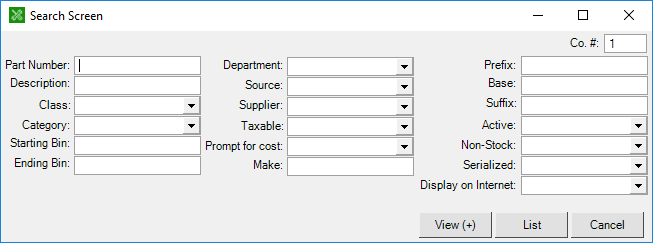
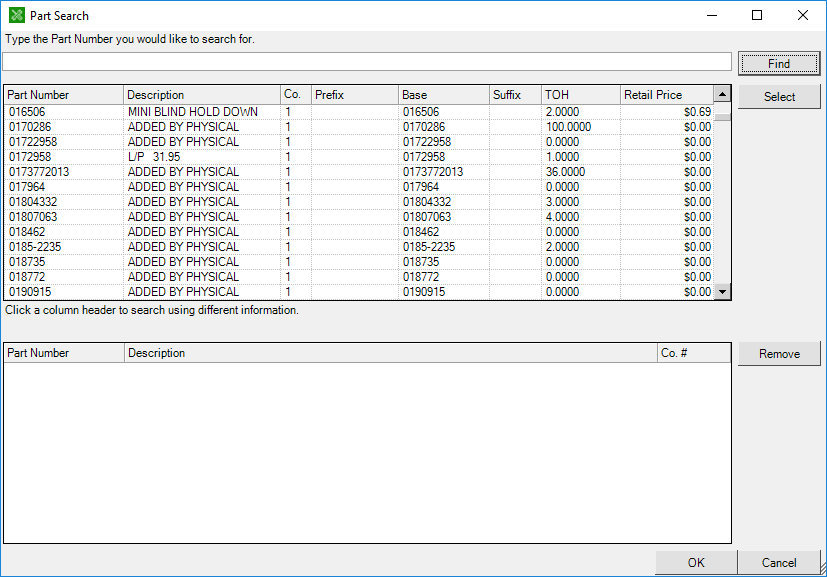
Search Part
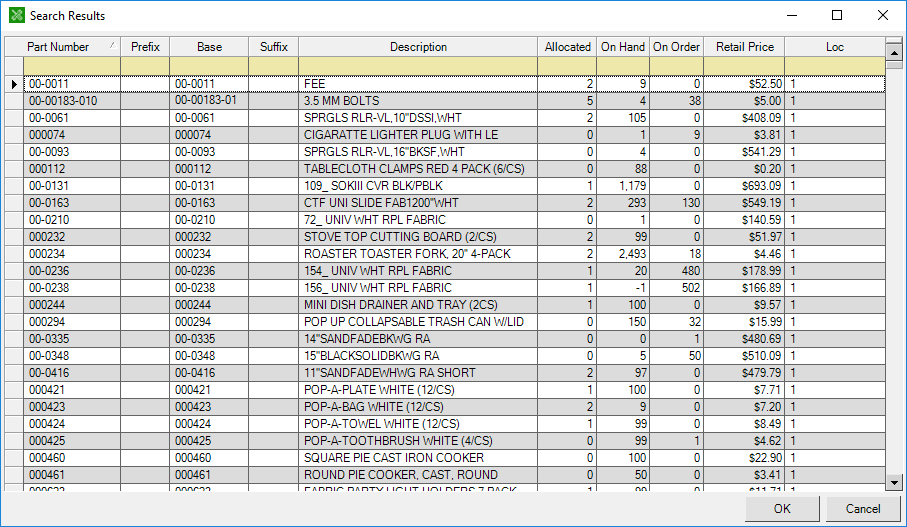
Selecting to search for a part will open a screen that allows you to enter one or more criteria to search.
Save
Click this button to update the part with any changes that you have made.
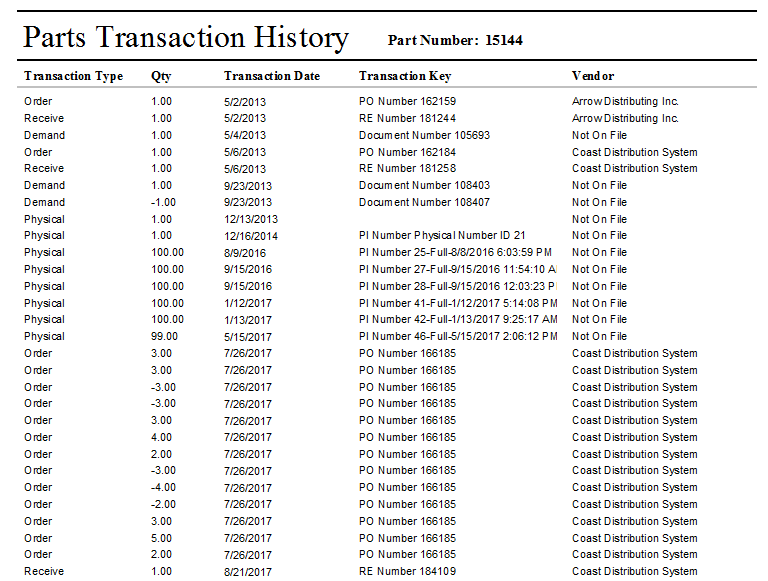
Print History
Choose this button to open the part's transaction history report.
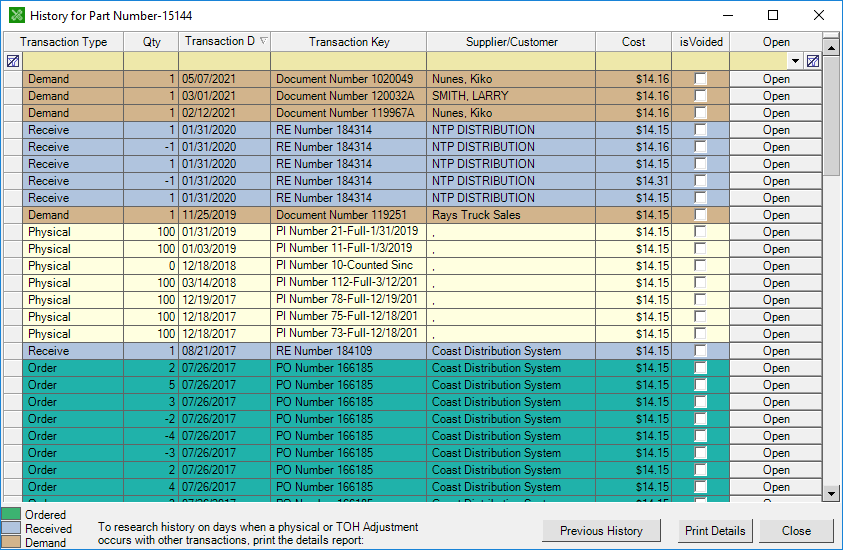
History
Choose this button to view the part's historical orders, receiving, and demand.
Print Part
Choosing to print the part will open the part record in a printable format.
List Button
When you have searched for a part and wish to view the results, you may use the list button to return to the list of results.
Delete Part
You can choose to delete parts. This will mark the part as deleted and hide it from selection on invoices.
| IMPORTANT: You can only delete parts that do not quantities available, on hand, or allocated. If any of these conditions are true, you will not be able to delete the part, but you will be able to merge it into another part. |
Part Profile Tabs
General Tab
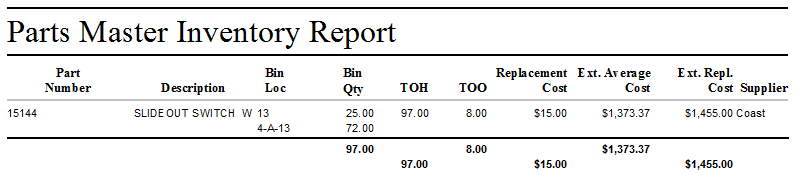
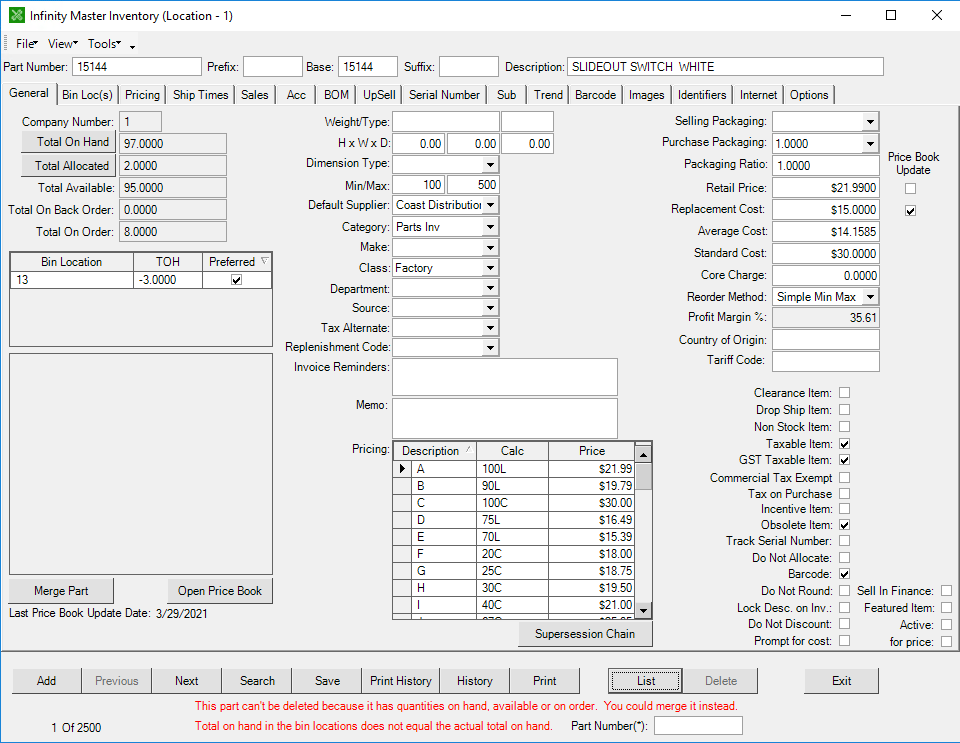
The general tab contains information about the part, including the total quantity on hand (TOH), total allocated, on order, on backorder, and more.
Some important fields include the supplier drop down, where you can select the supplier to use by default when ordering this part, the packaging ratio, where you can split a case of oil into individual quarts, and the retail price for the part.
Information entered on other tabs is shown on the general tab, including the part image, the bin locations, and pricing matrix.
Bin Locations Tab
The bin locations tab allows bins to be assigned to or removed from this part. Bin locations can be created separately, then be available to be assigned to parts or can be entered here. You can also do a TOH adjustment from this tab.
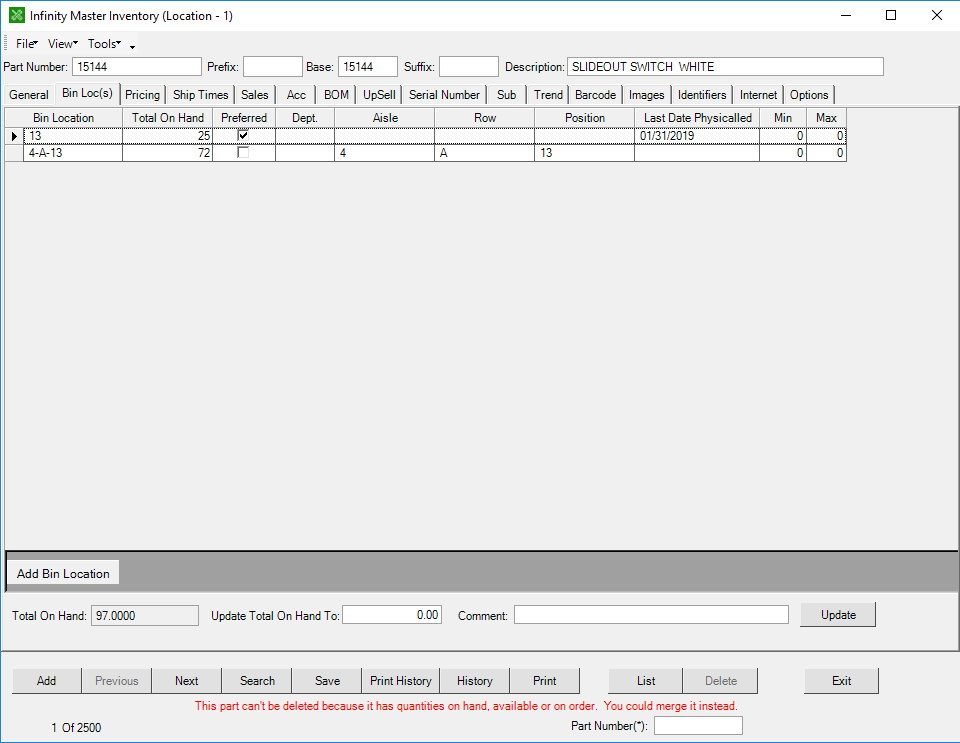
Assign a Bin Location
- Click the Add Bin button in the lower left of the screen. This will add a new, blank row to the list of bins.
- If bins have been created ahead of time, you will be able to choose them from a dropdown menu. Otherwise, you can type in the bin location.
Remove From a Bin Location
- Click once over the bin location you would like to remove in the list.
- Click the Delete button on your keyboard. You will receive a prompt to delete the bin from this part.
Pricing Tab
The pricing tab shows the matrix of prices for the part. Different letters mean different things when entered within each line. For example, an L here designates the price for that matrix level as a percentage of the List price, so 100L means that the corresponding level will charge 100% of the list price.
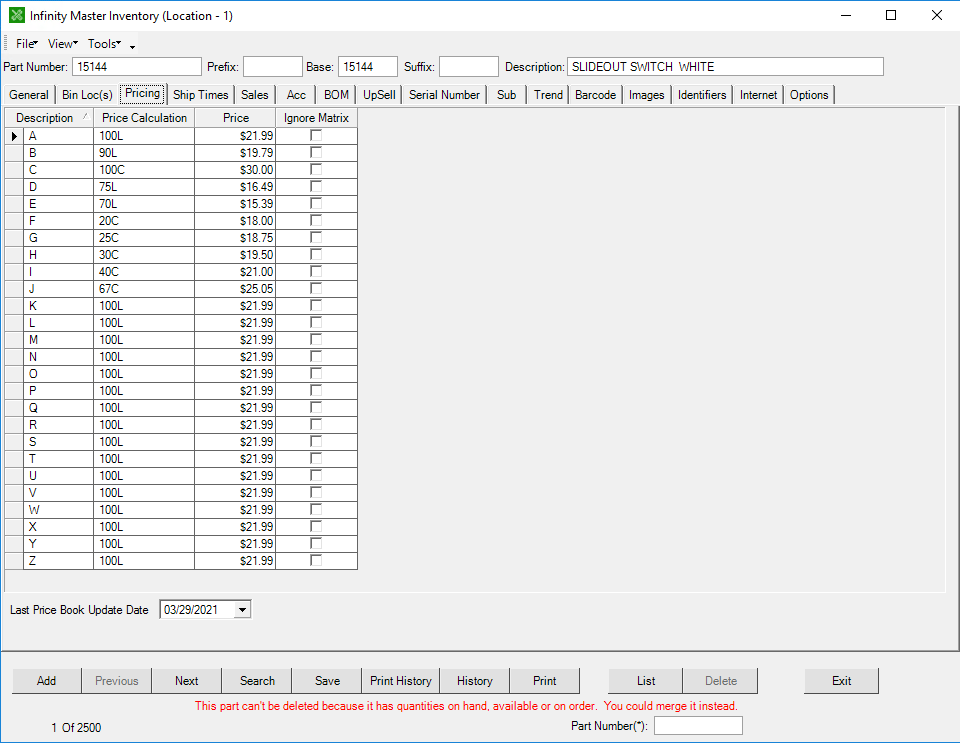
- L = percent of retail list price
- C = percentage over replacement cost
- A= percentage over average cost
- S = percentage over standard cost
- M = percentage markup over replacement cost
- G = gross margin percentage over replacement cost
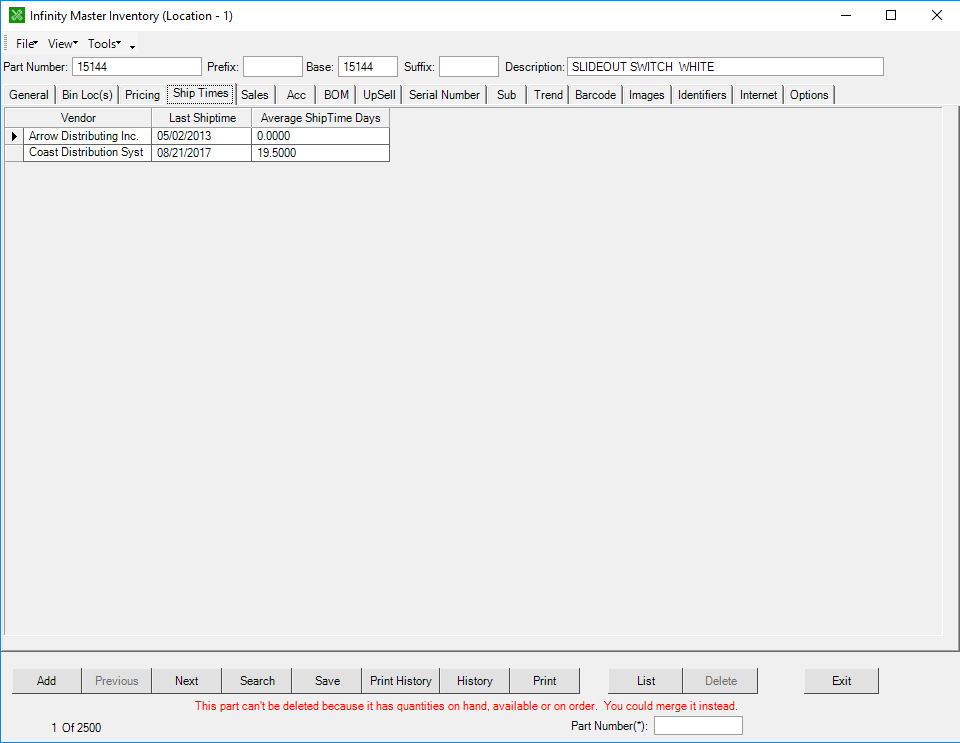
Ship Times Tab
Ship times are calculated for each supplier you order the part from. The time between the ordered date and received date for each part is averaged out and displayed here. You can use this information to determine which vendor has the quickest ship times.
Sales Tab
Sale Tab allows the part to be placed on sale between two dates. When the part is sold between these dates, a special price will be used.
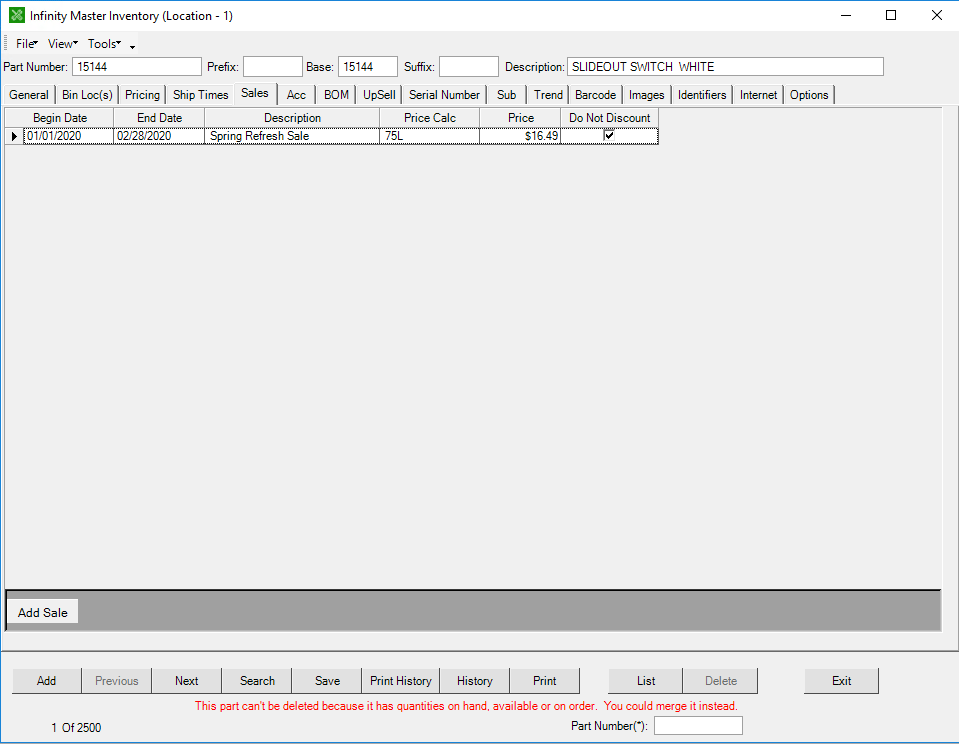
Add a Sale
- Click the Add Sale button in the lower left. This will add a new, blank line to the list.
- Select a begin Date and End Date for the sale.
- Type the Description of the sale.
- Enter the price calculation to use during the sale period. For example, if the sale is a 10% discount, you can enter 90L.
- Mark the sale as Do Not Discount if the sale price can not be combined with another discount.
Accessories Tab
An accessory is a part that might be sold as an accessory to another part.

Add Accessory Part
- Open the main part.
- Select the Accessories tab.
- Click the Add Accessory button. A part search screen appears.
- Type the description or part number of the accessory.
- Select the Search button.
- Choose each part and click the Select button to add it to the list at the bottom of the window.
- Once you have chosen all accessories, click the OK button.
BOM Tab
BOM tab is used to create a bill of materials for this part. This is often used when manufacturing a part using other parts in inventory. An example would be when you have a hitch, the bill of materials could be the drop and the ball.

Add New Bill of Materials (BOM)
- Click Add Material. A part search screen appears.
- Type the description or part number of the material.
- Select the Search button.
- Choose each part and click the Select button to add it to the list at the bottom of the window.
- Once you have a complete bill of materials, click the OK button.
Delete A BOM
- Select the Material.
- Click the Delete button on your keyboard.
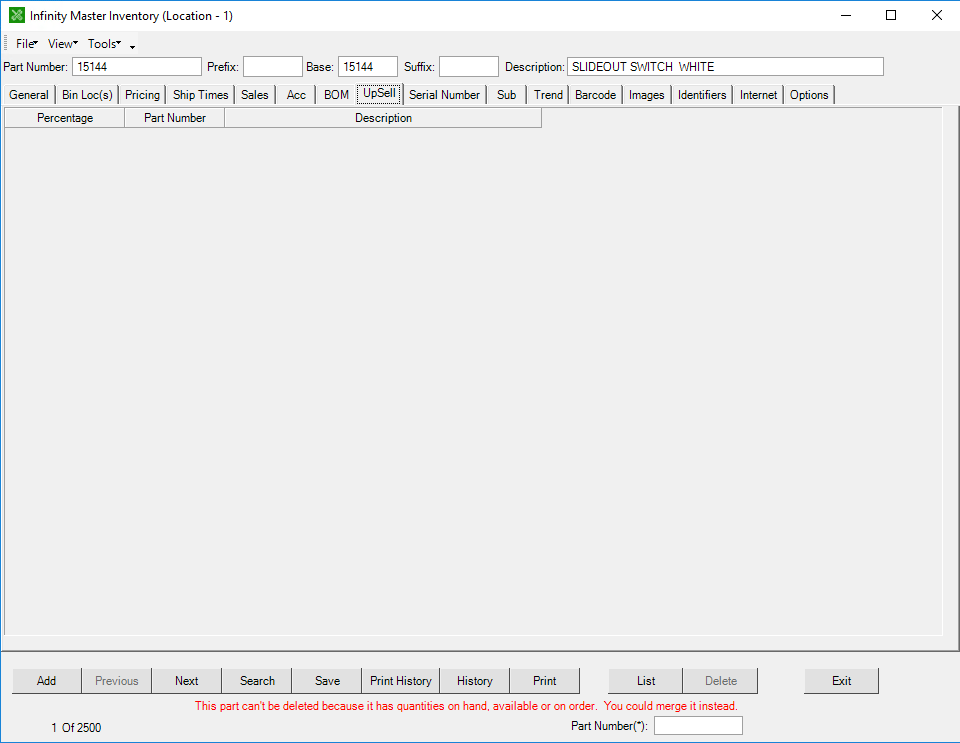
Upsell Tab
The UpSell tab automatically populates with parts that were sold on the same invoice as this part. An upsell shows you the percentage of concurrence, the part number, and the description.
Serial Number Tab
Tracking Serial numbers allows for individual parts to be tracked for each sale. For example, if a customer returns a defective part, you can check the serial number of the part being returned against the part that was sold to that customer.
To start tracking serial numbers, you must first check the part's track serial number box on the General Tab. From this point forward, the software will ask the user to enter a Serial Number for each part received.
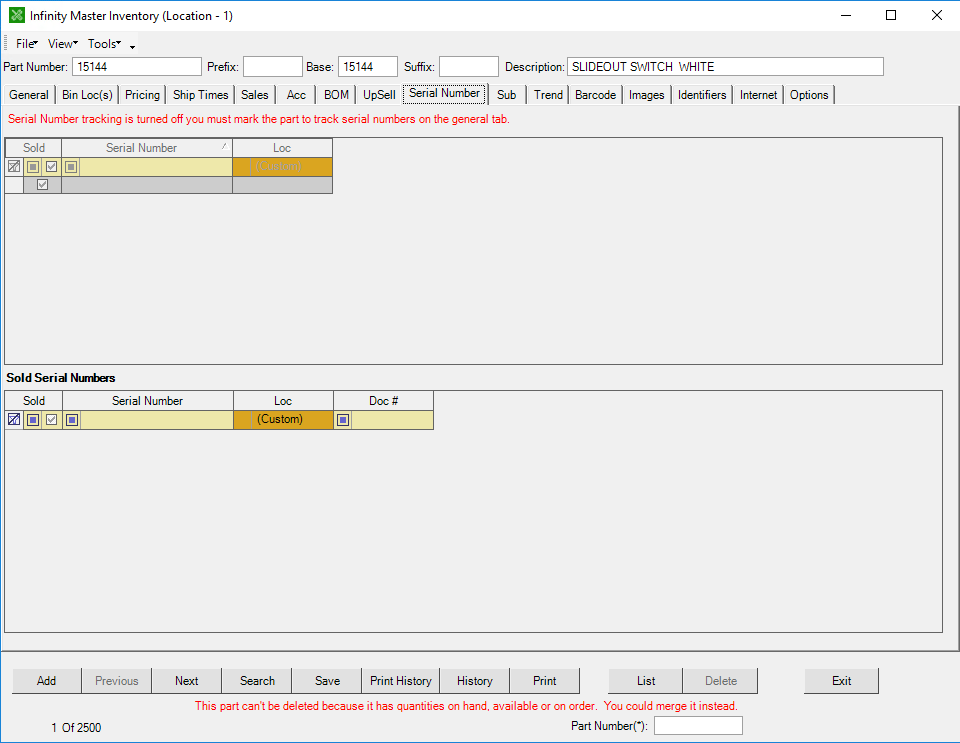
Any time this part is relieved from inventory, the user will need to pick which serial number is being relieved from inventory.
To make changes to the serial numbers, click the Serial Number Tab. Here you will see the list of serial numbers currently in inventory and the list of sold serial numbers.
If you are setting up a new serial number part or making corrections to the list of serial numbers, you can click Add Serial Number and type in the serial number that should be in the list.
Sub Tab
The substitutions tab is used to designate possible alternate options for this specific part, if unavailable.
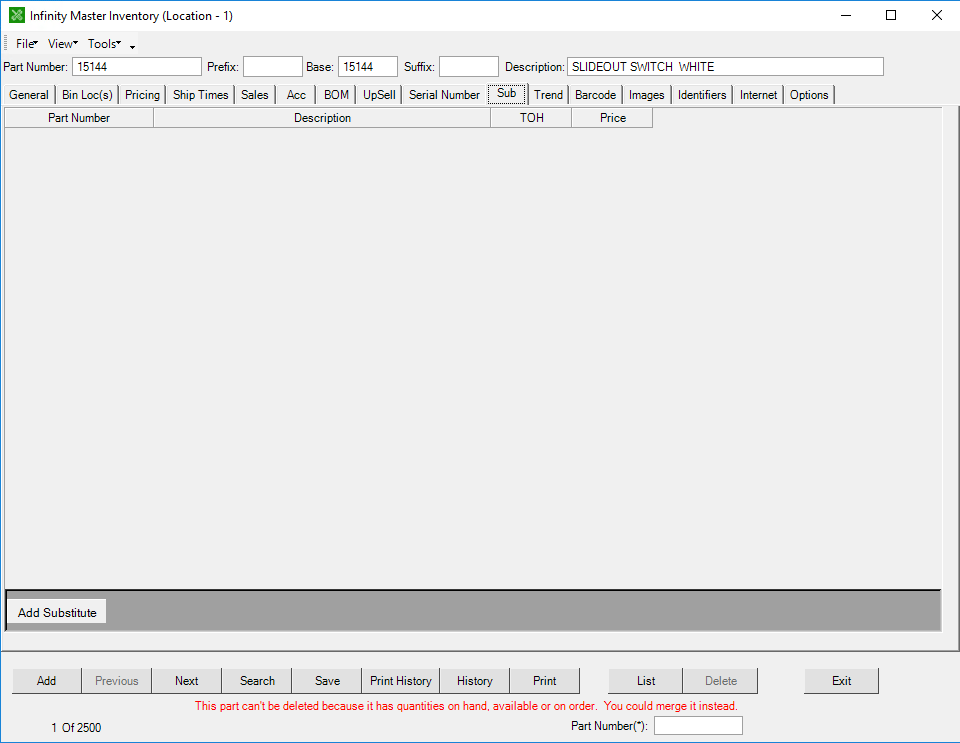
Add a Substitution
- Open the part profile.
- Select the Sub tab.
- Click the Add Substitution button. A part search screen appears.
- Type the description or part number of the substitution part.
- Select the Search button.
- Choose each part and click the Select button to add it to the list at the bottom of the window.
- Once you have chosen all options, click the OK button.
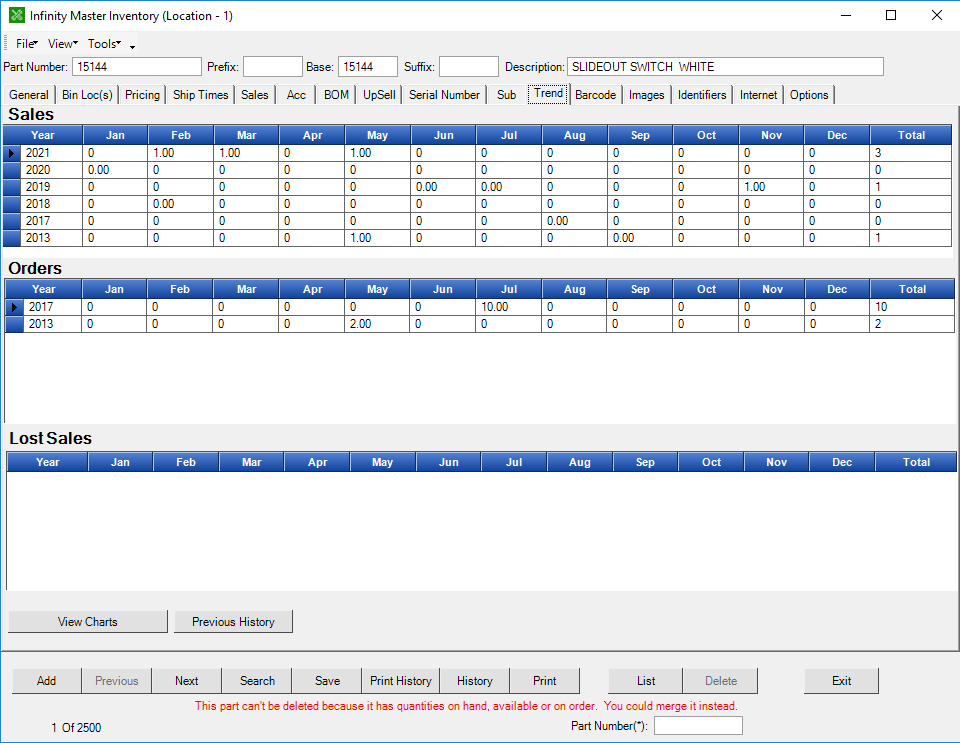
Trend Tab
The trend tab can help you manage your inventory, viewing the quantities sold, ordered, and lost for this part. This information is populated by the part orders placed and received, and sold through the point of sale.
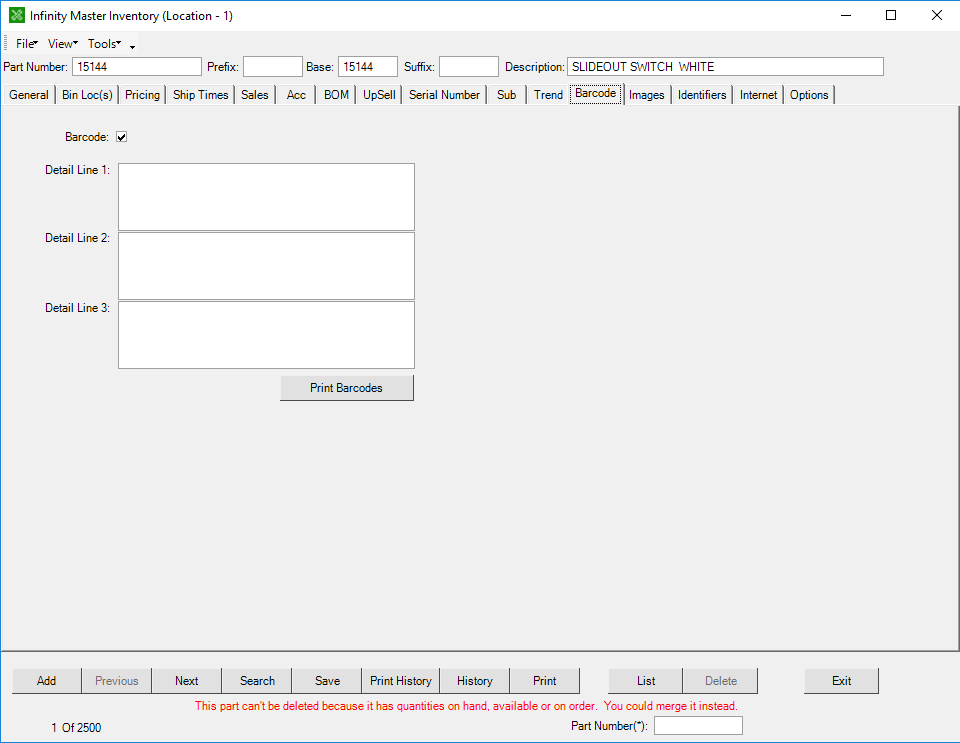
Barcode Tab
If the barcode box is checked on the general tab, the box in the upper left of this tab will be checked. You can add text or additional information for the barcode label on this tab.
Images Tab
The images tab allows you to enter a URL of the part's picture. Entering it on this tab will reflect the image on the part's general tab.
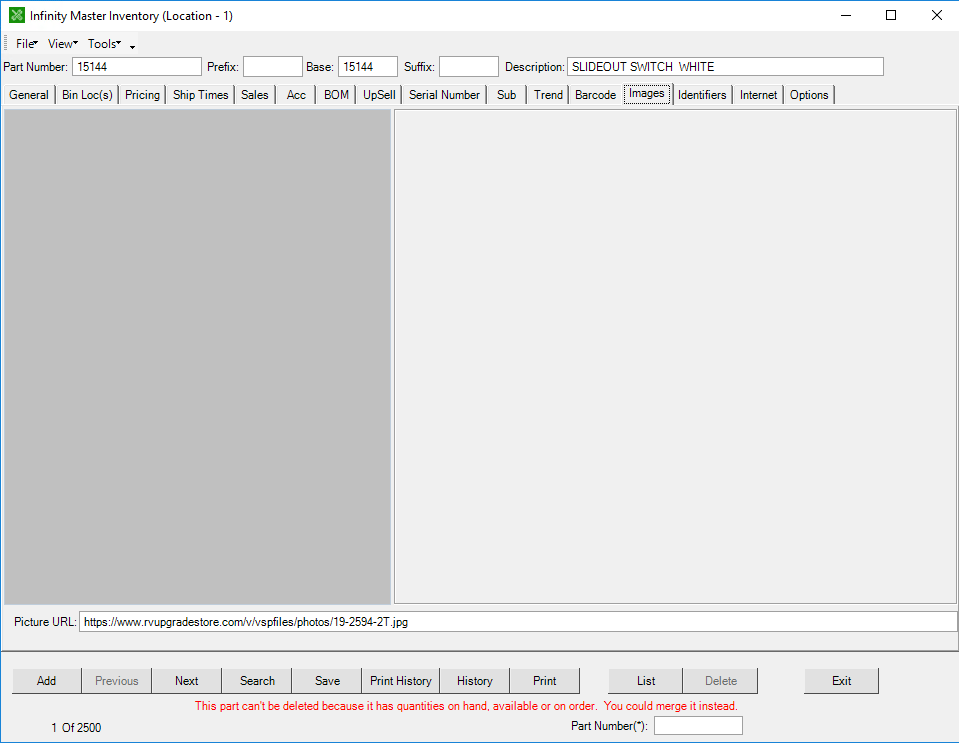
Add a New Part Image
- Open the part in a new Internet browser window.
- Right-click over the picture to access a menu.
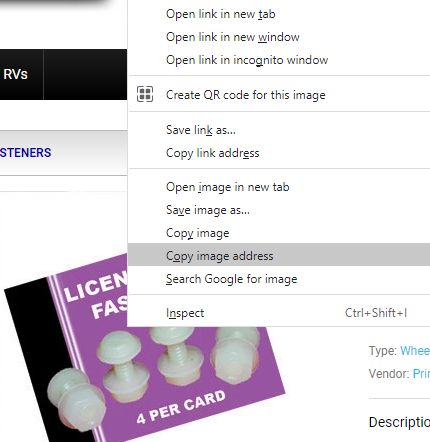
- Choose to Copy the Image Address.
- In the part profile's images tab, paste the address into the field to the lower left.
- Select the Save button. The part image will now display on the general tab.
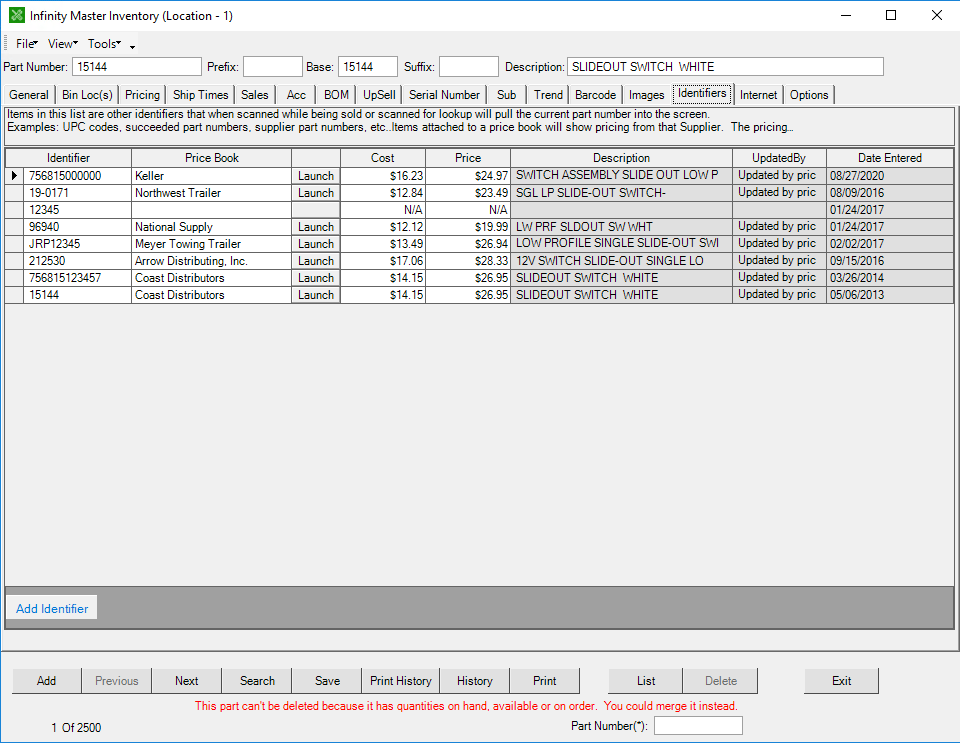
Identifiers Tab
The identifiers tab allows you to enter multiple part numbers that reference this part. This is helpful when the part is available from multiple suppliers under different numbers. Enter the secondary supplier and their part number on it's own row. If that secondary number is entered when adding a part to an invoice, the program will automatically supply this part.
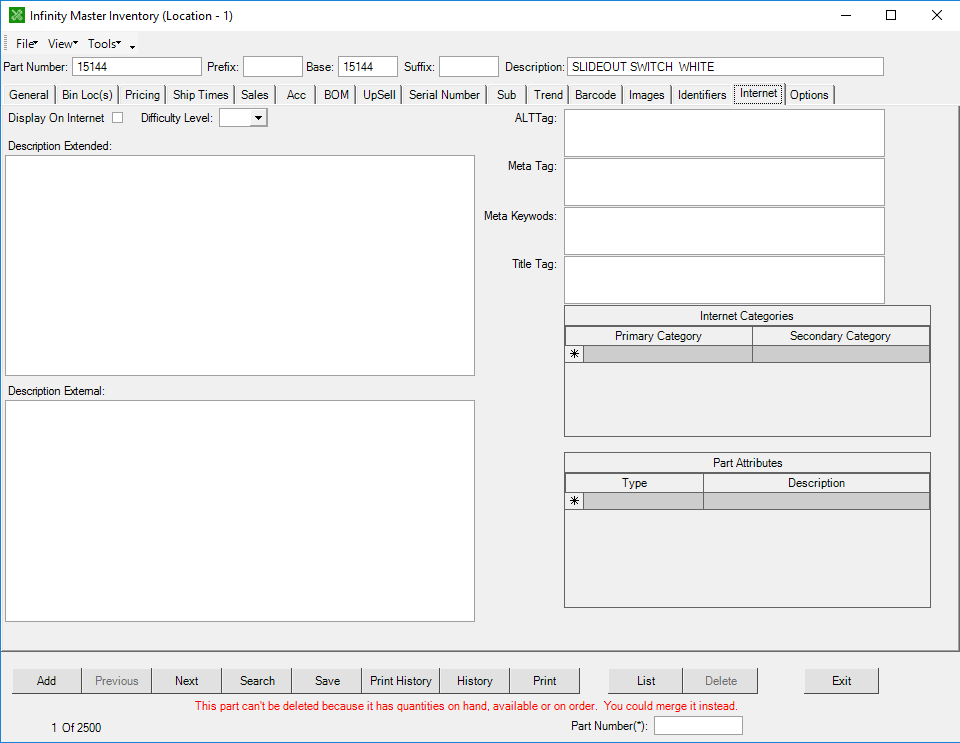
Internet Tab
This tab is used by businesses who host their parts for sale online. You can enter internet-specific categories, description, keywords and attributes on this tab.
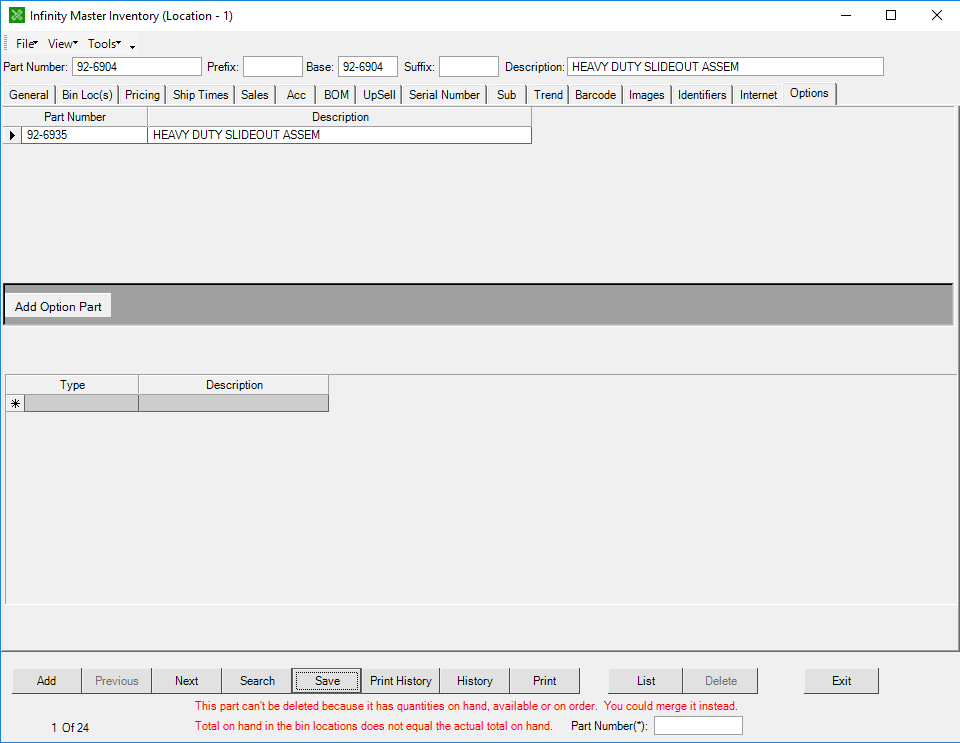
Options Tab
The options tab is used when there are alternate options for the part. For example, the part may come in multiple colors.