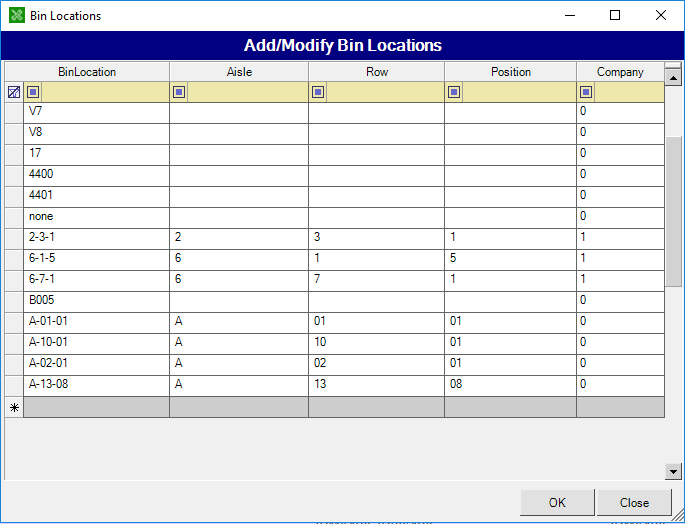
Bins are used to help organize your business's parts inventory. You can create the bins, then assign your parts to the bin or bins where they will be stored.
Add A Bin Location
-
- Open the Parts & Service module.
- Select the Edit menu from the upper left of the screen.
- Hover over Modify to expand the submenu.
- Choose the Add / Modify Bin Locations option. This will open the bin locations window. Any previously-entered bin locations will show in a list.
- The bottom row in this list is blank. Clicking in this row will allow you to enter new bin location information.

-
- Entering an aisle, row, and position will fill in the bin location field.
- If your business does not use the aisle, row, or position, you may enter the bin location name into the bin location field.
- If your bin locations are company-specific, select the company number in the field to the right side of the section.
- Choose the Save button to the lower right of the bin locations window to save any changes made.
Delete a Bin Location
| IMPORTANT: Deleting a bin will remove all parts from the bin. Deleted bins are non-recoverable. It is recommended to verify that no parts are assigned to the bins you wish to remove prior to deleting bin locations. |
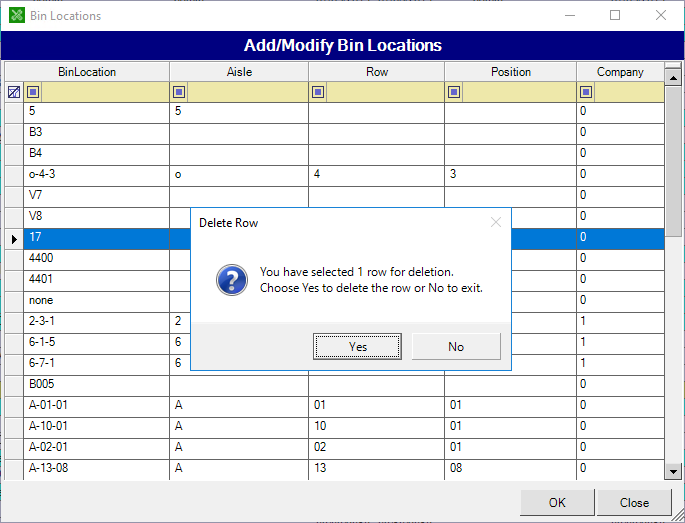
Click the small gray box to the left of the row you wish to delete. If you wish to remove multiple bins, you can click and drag down the list to highlight multiple rows.
Select the delete button on your keyboard. You will receive a prompt to verify deletion.
