When creating letters, you have many different options available to customize the look of the letter. This article reviews the different parts of the letter editor and provides a step by step walkthrough to creating professional-looking business emails. For more information on using letters, please refer to the Create a Letter article.
Merge Fields
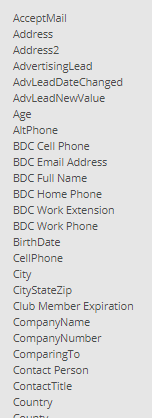
Merge fields are used to insert information specific to the customer. Click in your letter where you want to add the text, then click a merge field from this list on the left side of the screen to add a placeholder surrounded by brackets. When creating letters, this will add the information for that specific customer.
Text Decoration

Click and drag to highlight text, then select the relevant option to make the text bold (B), italicized (I), or underlined (U).
Alignment
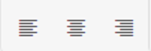
You can highlight text and use the alignment buttons to align the text to the left of the letter, centered, or aligned right.
Text Styles
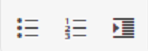
Click and drag to highlight text, then select to set it as a bullet list or numbered list. The option to indent text will move the paragraph to the left. After this is selected, an option to outdent will appear.
Insert Options

Choose the text you want to hyperlink and use the relevant button to insert a hyperlink. Click within your letter to insert an image, or a table in the cursor location.
Font Options

Choose the text you want to adjust, then select a specific font or font size for text in your letter.
Colors

Choose the text you want to adjust, then select the A with an arrow to set a color for your text. The droplet with an arrow will apply a background color to the area where your cursor is.
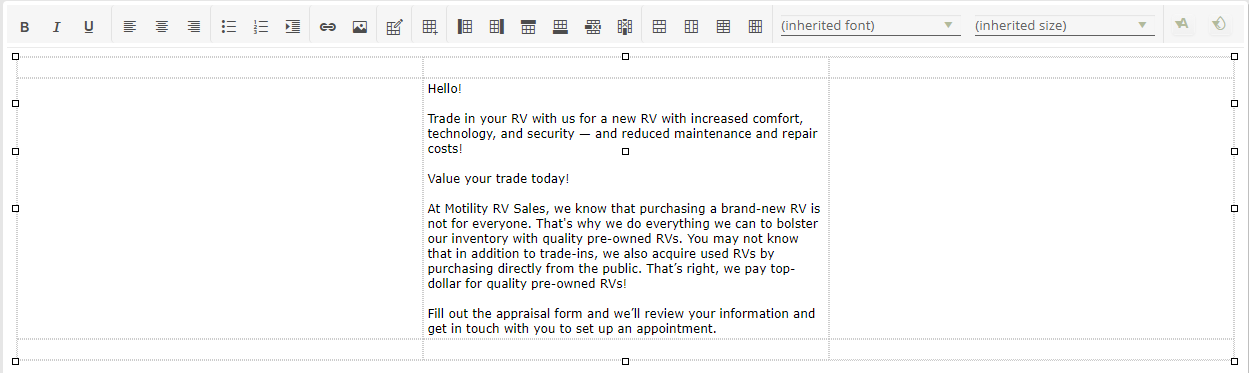
Letter Formatting Example
Choose the table button to insert a table.
Select to insert a 3 x 3 table. This will insert a table with 3 columns and 3 rows.

This is what the new, blank table will look like:

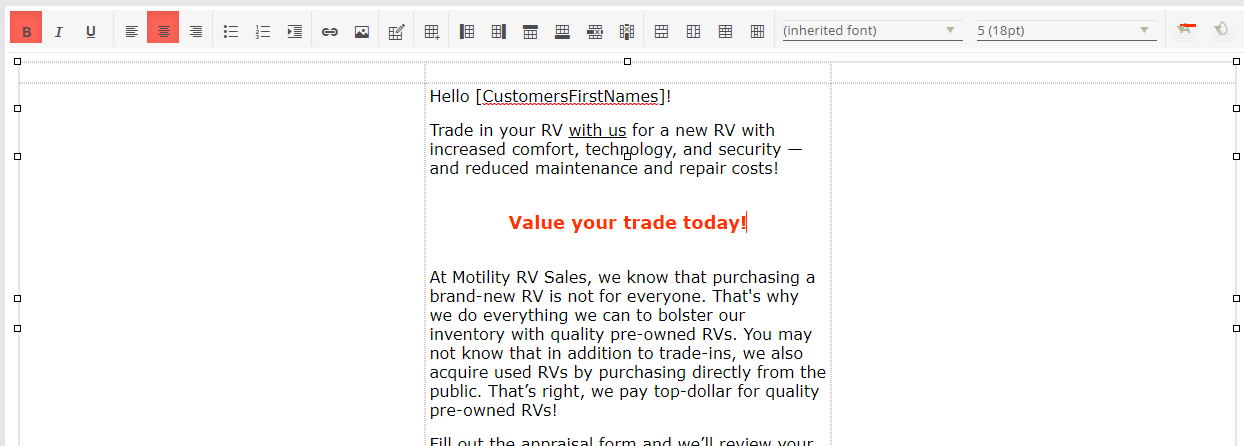
Add the text for your letter into the center cell of the table.
Add your dealership information into the bottom left cell of the table. This is a great place to use the merge fields for the Dealership Address. Alternatively, if your dealership has multiple locations, you can enter information into each cell in the bottom row.

Now, let's format the text. We'll make text bold, italicized, or underlined as we desire, then change the font and size. Use the alignment options to move the text where you want.
With the text entered, we can focus on adjusting the table. Click once within left column in the top row of the table. From the options at the top of the window, choose to merge horizontal. This will merge the cells together.

Click the merge horizontal button again to merge with the right-hand column. Your table should now look like this:

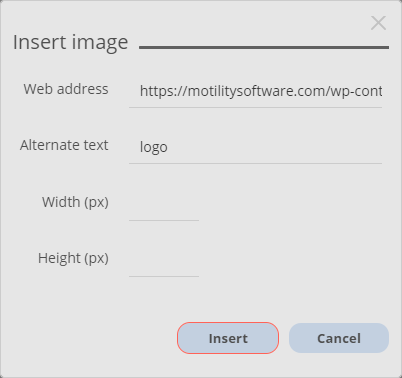
Click in the top row and choose the button to add an image. This will open a window where you can add the URL of the image. Add an alternate name and you may choose a width for the image. It is recommended to use between 600px and 850px.
Your table will now show:
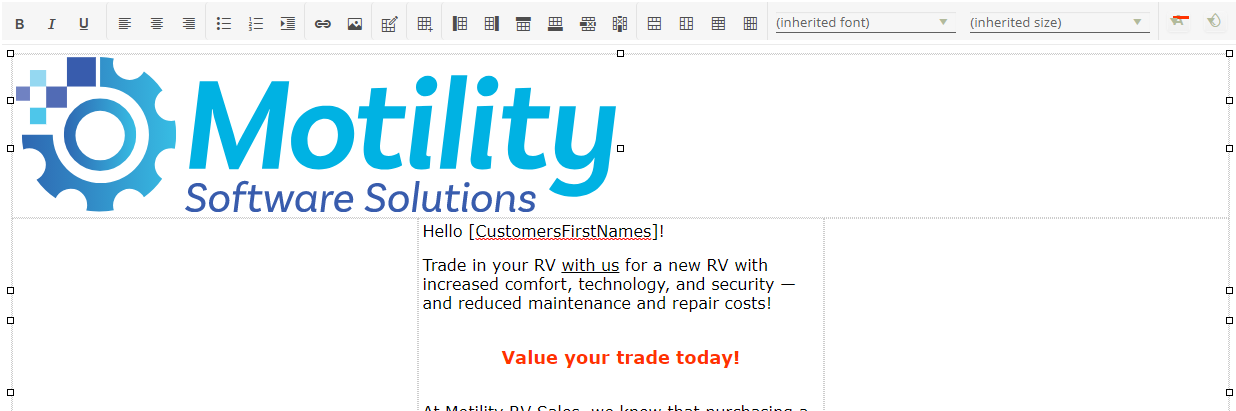
You can center the image by using the alignment option.
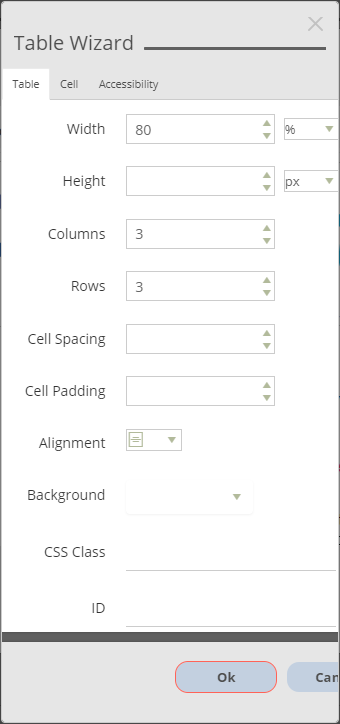
Let's customize the table. Click in the center cell where our text has been entered, and choose the Table Wizard button.

The table wizard allows us to make changes for the entire table or a single cell. In the Table tab, set the table width to 80%. This means that the table will fill 80% of the window that it shows in (like the customer's email box window).
Under the Cell tab, you can set a width for the cell. I set mine to use 60% of the table. This will keep the text looking neat and indented on each side.