The mobile app allows for limited access to the program features and functions. The app can be used by salespeople to easily look up prospects and enter customer information.
Main Menu
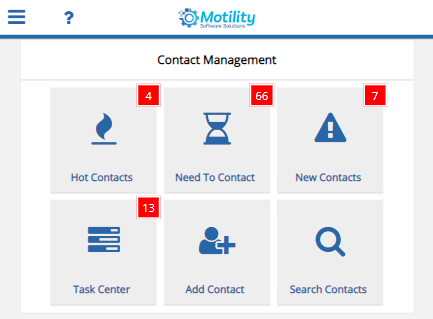
When you first log into the mobile app, you will see the main menu screen. The top section is the contact management section.
Clock In / Out
On the main menu screen, select the list icon in the upper left. This will open the list of different sections for the mobile app.
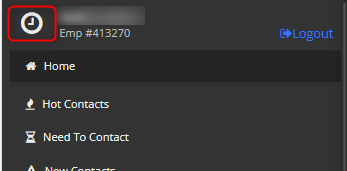
Click the small clock icon to the left of your username. This will open the Time Clock screen.
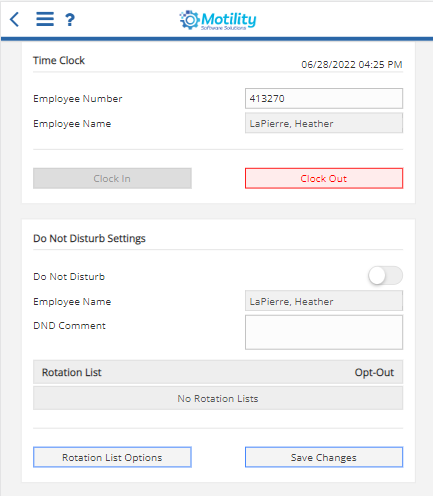
To start the day, click the Clock In button. To finish the day, select the Clock Out button.
Contact Lists
The contact lists may show a number of notifications for prospects that require attention.
Clicking over either the Hot Contacts, Need to Contact, or New Contacts buttons will open a list of your prospects that are set with the Hot temperature, a due next callback date, or marked as new.
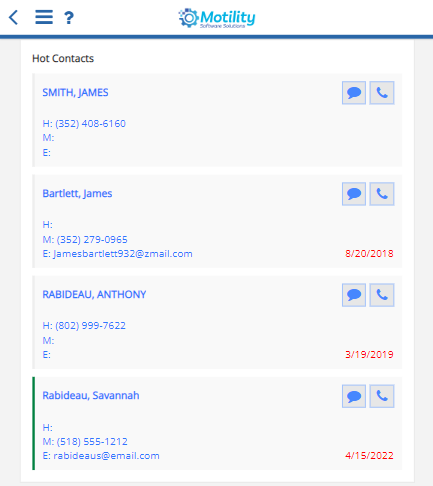
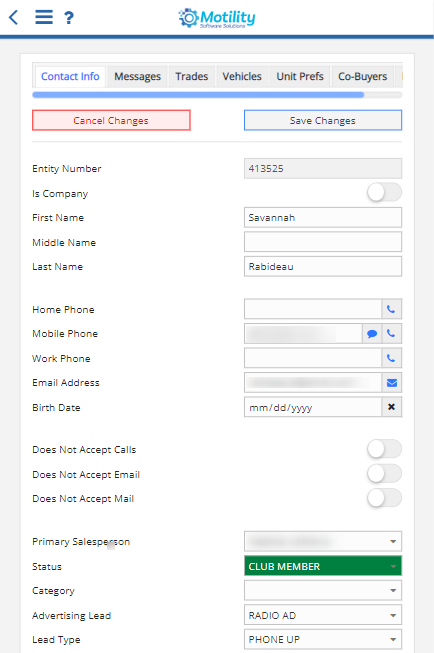
Clicking over a prospect in the list will open the prospect profile's Contact Info tab. This contains the information found in the software's Lead Info tab. You may view or modify information from this screen.
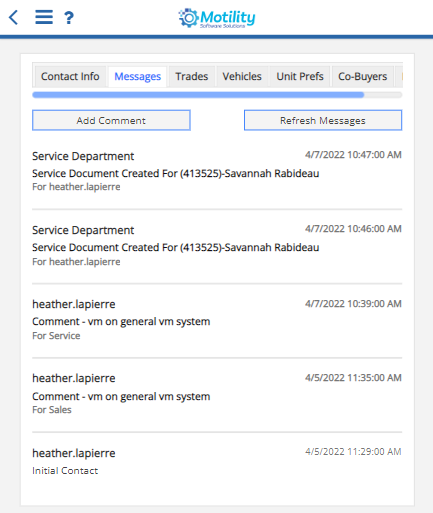
The Messages tab shows information about emails*, notes, and parts or service invoices for the prospect.
Note: Your email must be set up and emails sent through the software to show in this list.
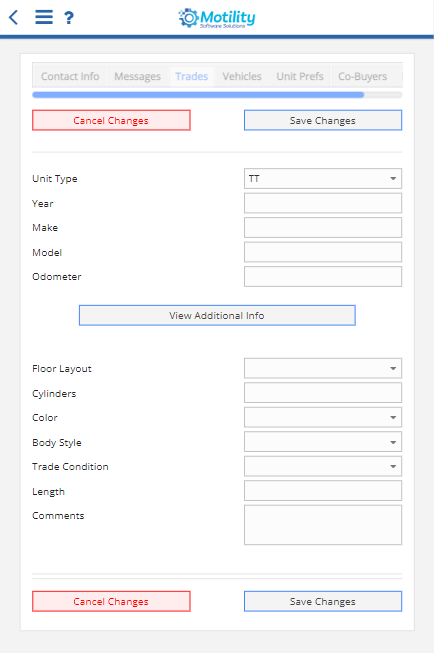
The Trades tab will show trades entered and vehicles that have been moved to the trades section of the prospect profile.
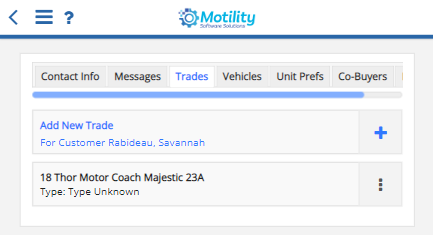
Choosing to Add New Trade will open a screen where you can enter information about the trade unit. Clicking the View Additional Info button will expand the lower section, allowing you to enter more information about the trade unit.
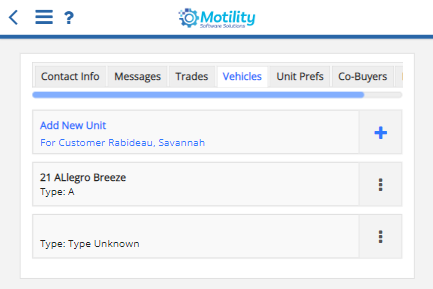
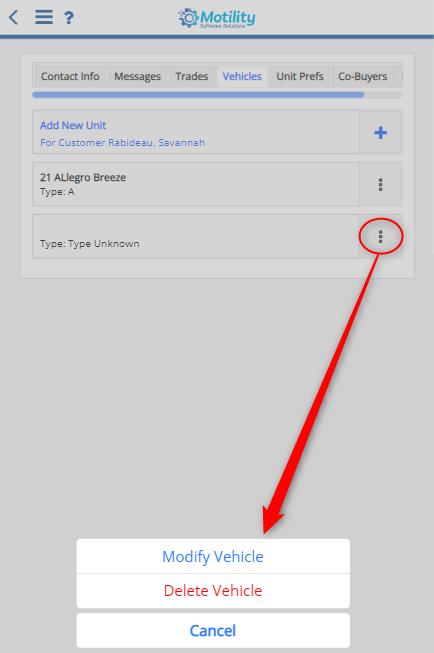
The Vehicles tab will show any current units that are listed on the prospect profile. These are units owned by the customer.
The Unit Preferences tab can be used to enter or view information about the unit or units that the prospect is interested in purchasing.
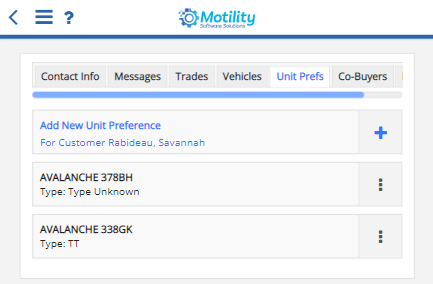
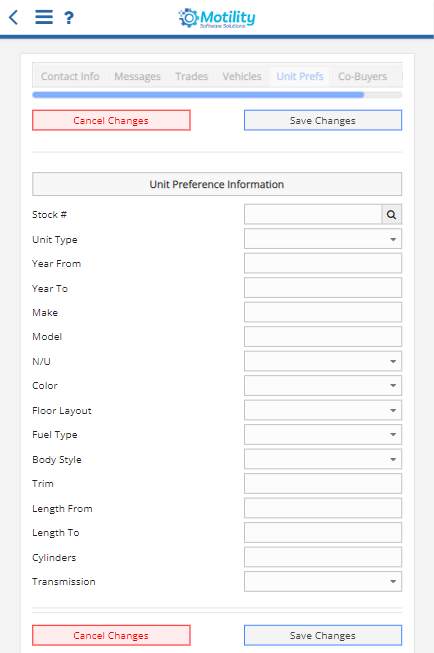
Choosing to Add New Unit Preference will open a screen where you can enter detailed information about the units they would like to see.
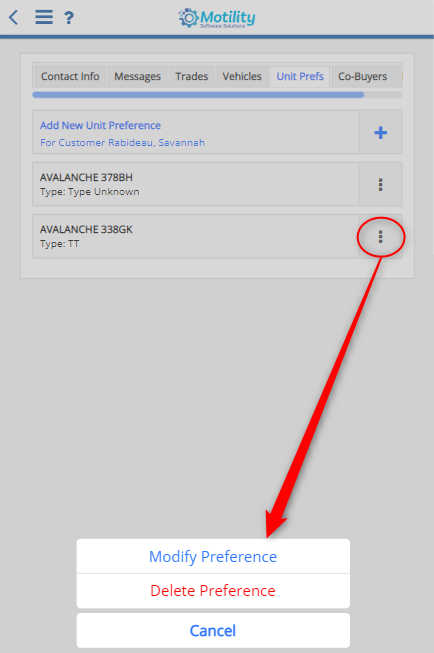
Tapping over the ellipsis button on an existing unit will allow you to modify or delete that unit from their preferences.
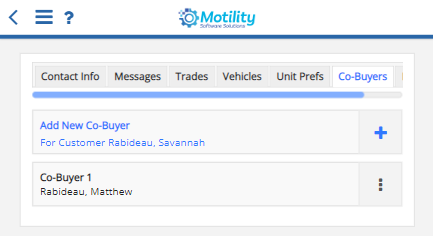
The Co-Buyers tab will show any cobuyers for this prospect.
Selecting the Add New Co-Buyer button will open a screen where you can enter the co-buyer information.
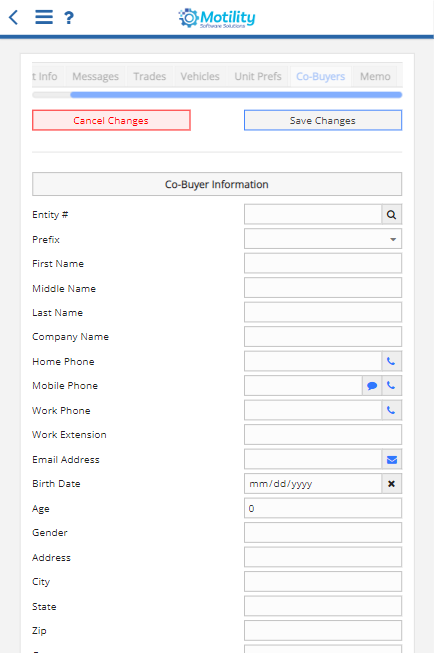
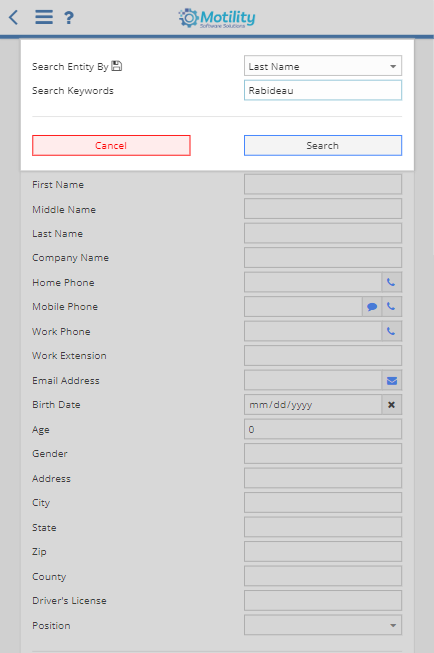
Selecting the magnifying glass in the Entity Number field will open a search window to locate an existing entity and add them as a co-buyer.
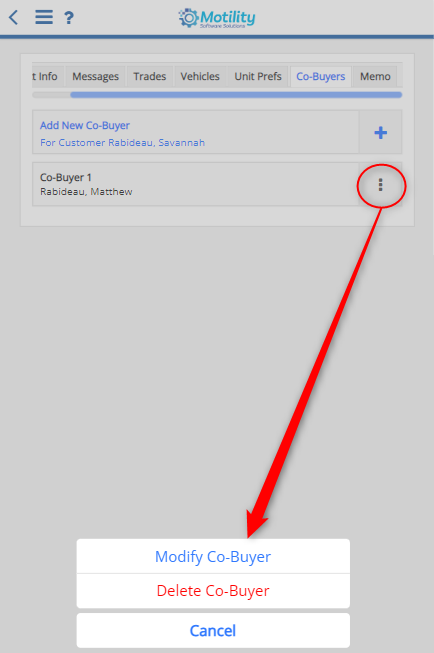
Tapping over the ellipsis button on an existing co-buyer will allow you to modify or delete them.
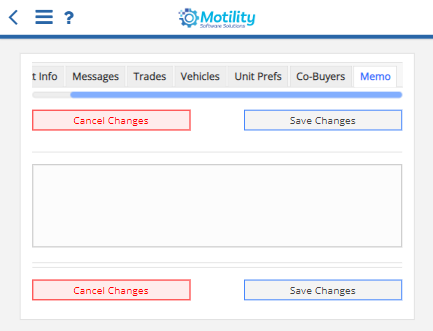
The Memo tab shows any notes entered on the prospect's memo tab in the software. You may type in additional notes for the prospect and save them here.
Task Center
Tasks created in the software will show in the task center. These may be appointments, emails that need to be sent, calls that need to be made, etc. In the upper right, you can choose the Show Legend button to see what the different colors mean in this list.
- Red Text indicates that the task is overdue.
- Green Text indicates that the task is due today.
- Completed tasks will show with
strikethroughtext, crossing them off your list. - The background color of individual tasks indicates the priority level of that task.
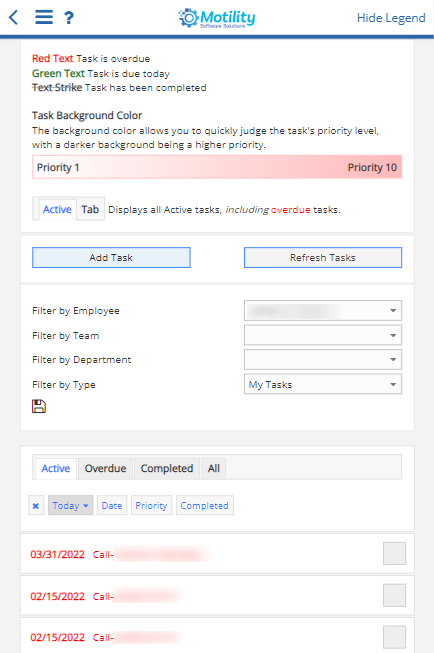
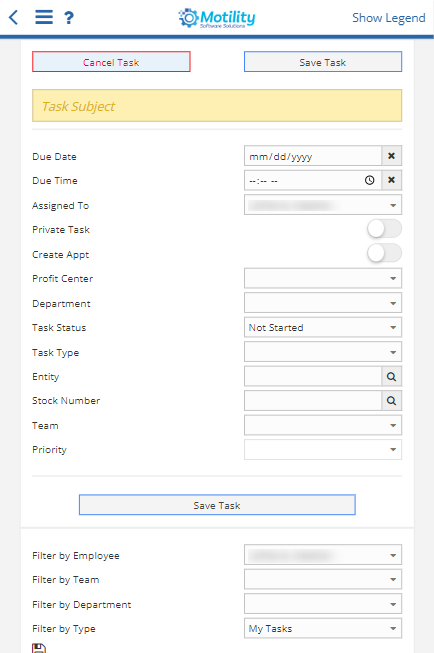
Choosing the Add Task button will open a screen where you can enter detailed information about the task, including due dates, times, and assigning it.
Add Contact
| IMPORTANT: Search for a customer before choosing to add them as a contact. This will help prevent duplicate entries. |
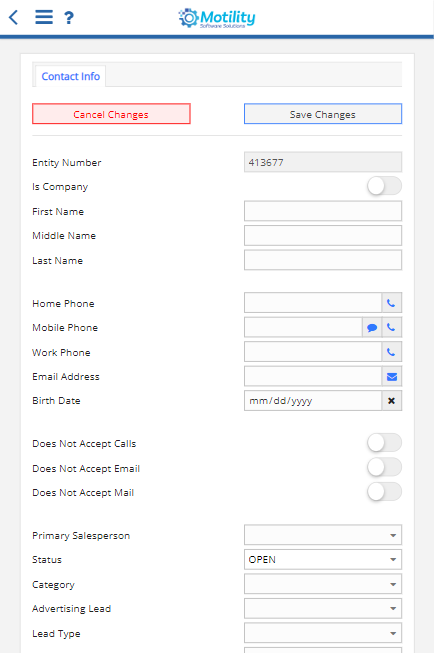
Selecting the button to add a new contact will open a screen where you can begin entering information relevant to the prospect.
Search Contacts
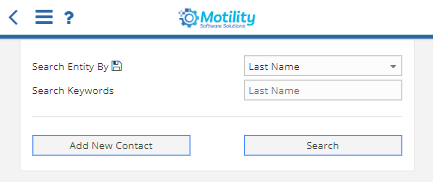
Choosing to search contacts will open a window to allow you to search for them in different ways. These include searching by:
|
|
|
