Creating a letter can be as easy or as involved as you wish. This article reviews the different options available when creating or formatting your letters, and a walkthrough on creating a letter for marketing.
Formatting Buttons

Use the buttons to create a new letter, open an existing letter, or save the letter you have open.

Change the chosen font or size by using the dropdown selection boxes.

Cut, copy and paste text to your letter. The Microsoft Word logo button allows you to paste from a Word document and maintain any existing formatting.

Change the look of your text by using the bold, italicize and underline buttons.

Remove formatting, undo changes, redo changes and print the letter with these buttons. Choose the red check mark to spellcheck the document, and select the binoculars to search within.

Use predesigned text styles by selecting from the dropdown list. Apply a background color to your text with the highlighter button, or change the text color by selecting the text color button.

Easily insert URLs or images, embed YouTube videos, or add tables, symbols or a horizontal line in your letter template.

If you want your text to show in a list, you can choose a numbered list or a bullet point list.

Change the text alignment by selecting one of these buttons.

If you want to indent your text or other letter content, choose the indent or outdent button.

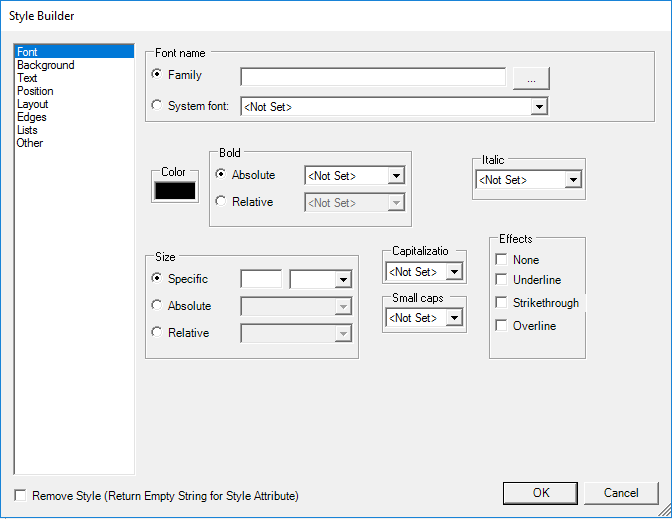
Highlight text and click the strikethrough button to add a line through your text. Classify text as superscript or subscript by choosing the applicable option. The CSS button will open the style builder window so you can customize many aspects of the text at once.
Example Letter Steps
- Choose the Add Letter or Edit Letter option. This will open the letter editor screen.
- Click the "Insert Table" button.
- On the "Insert Table" screen, enter "3" into the "Number of rows" and "1" into the "Number of columns".
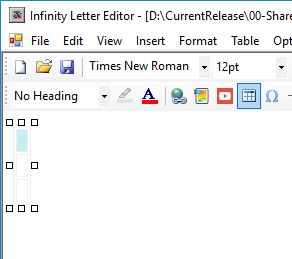
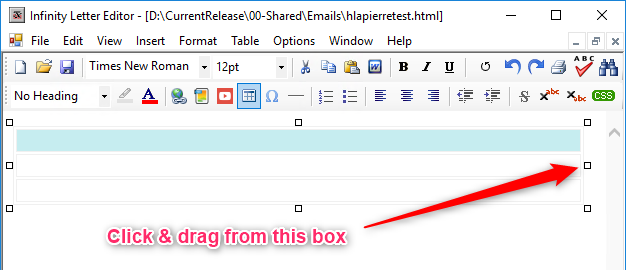
- Click the "Ok" button. The table will appear with three small rows. Click over the table to select it. This will show small boxes at the top, sides, and corners of the table. Hovering over a box will show a double-sided arrow.
- When you see this double sided arrow, hold down your left click button and drag your mouse to make these rows larger. This will allow you to insert images and text into the blank rows.
|
Before Editing Table
|
After Editing Table
|
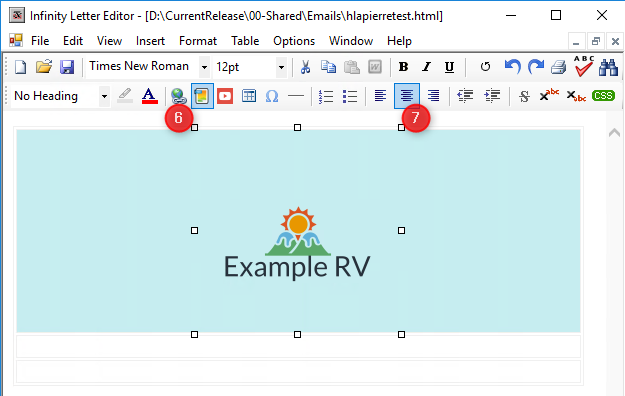
- Click in the first row so that the row turns blue and your cursor is blinking in the first row.
- Click the "Insert Picture" button to select an image from a location on your computer.
- Center your image in the row by choosing the Align Center button.
- Click in the second row to enter your text and set a background color.
- You can add text by typing into the table or by copying and pasting from another source. Also, you can add variable fields easily by hovering over the Insert menu at the top of the window and hovering over the Merge option. This will show a list of the merge fields. Using a merge field here for the customer's first name will fill in the correct name for each email you send.
- To set a background color, right click in this area and select "Cell Properties" from the menu.
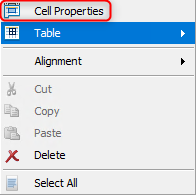
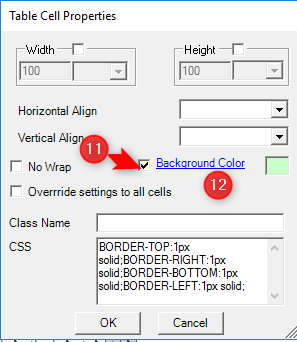
- Check the Background Color box to change the text into a link.
- Click the link to choose the color that you would like to set as the background color.
- Click the "Ok" button to close the cell properties window.
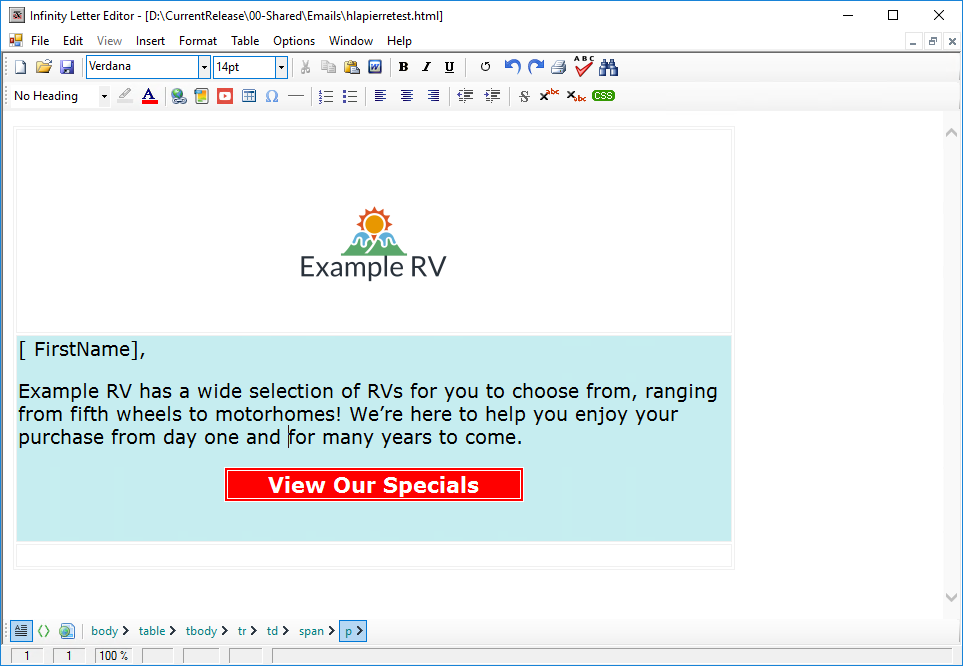
- Click in the third and bottom row. In this row, you may wish to enter your business information. Merge fields are a fast and easy way to add this information to your letter.
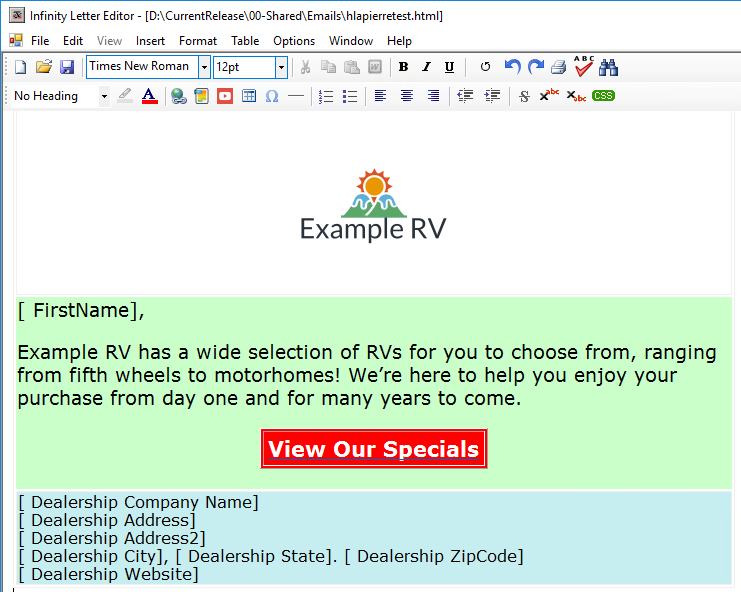
- Choose the save button or use the save option in the file menu to update your letter.
- Exit the letter by selecting the exit option in the file menu or by clicking the X in the upper right of the window.
