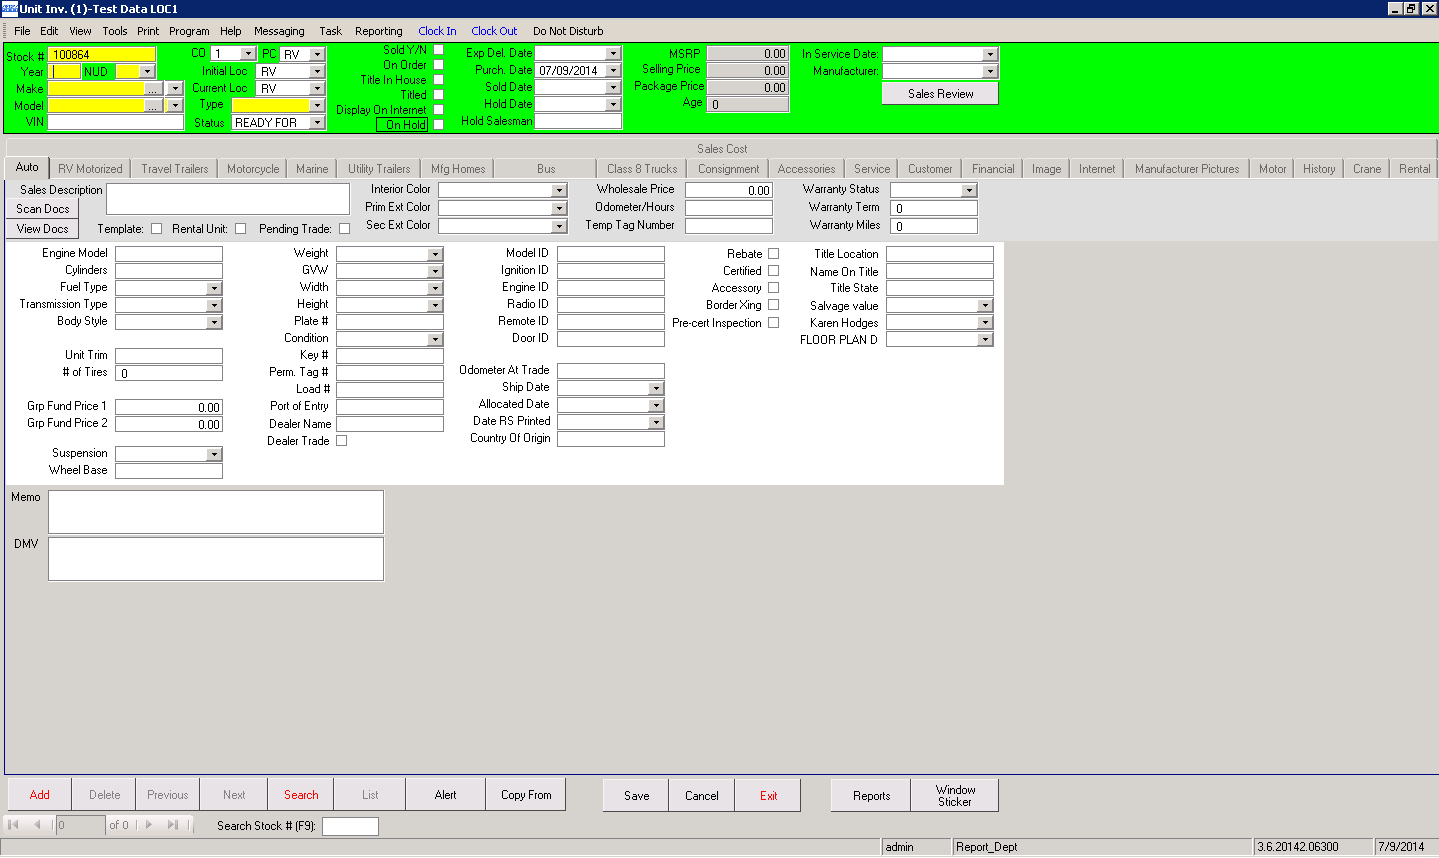
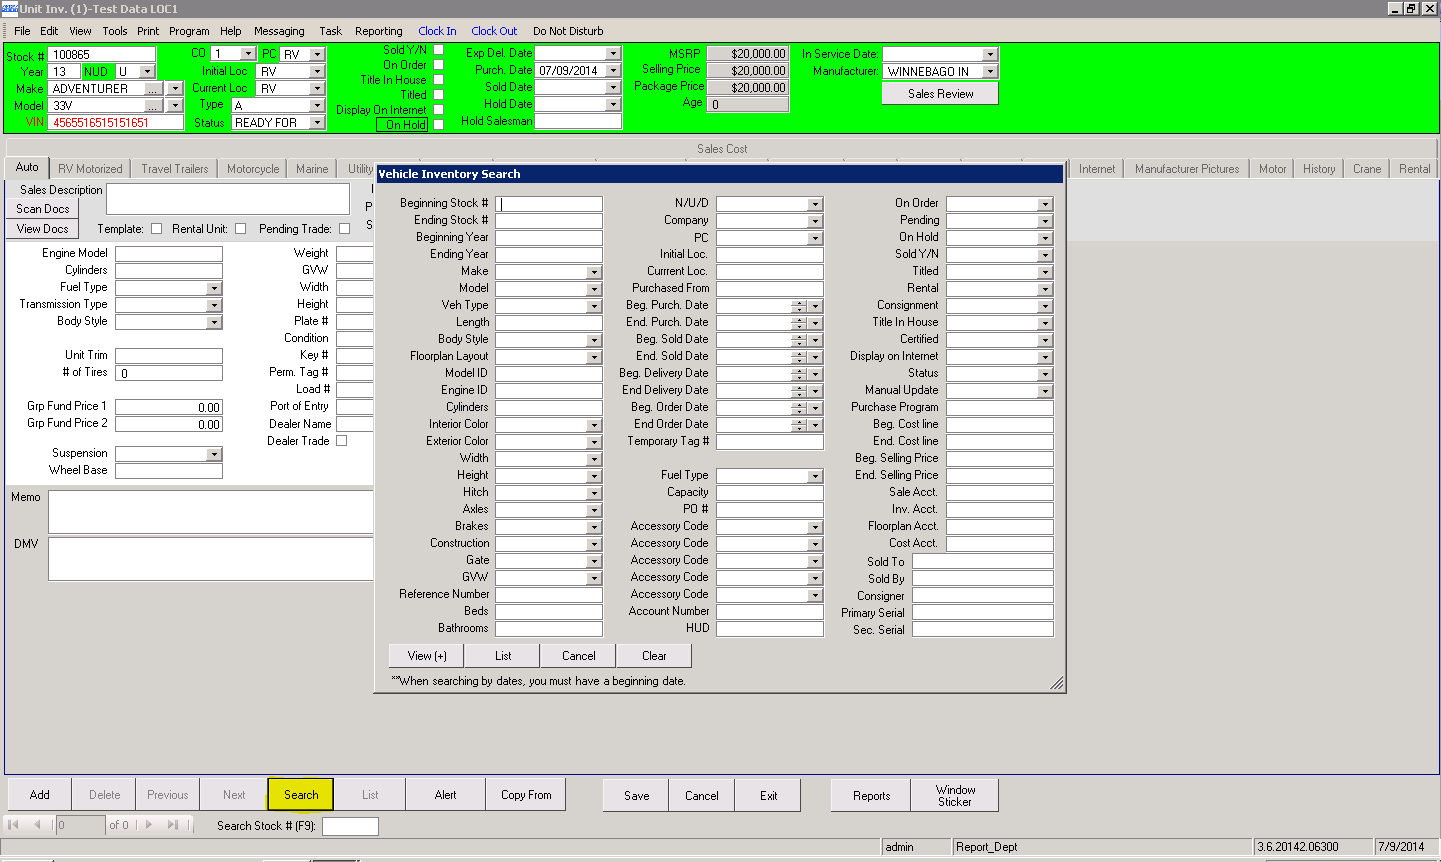
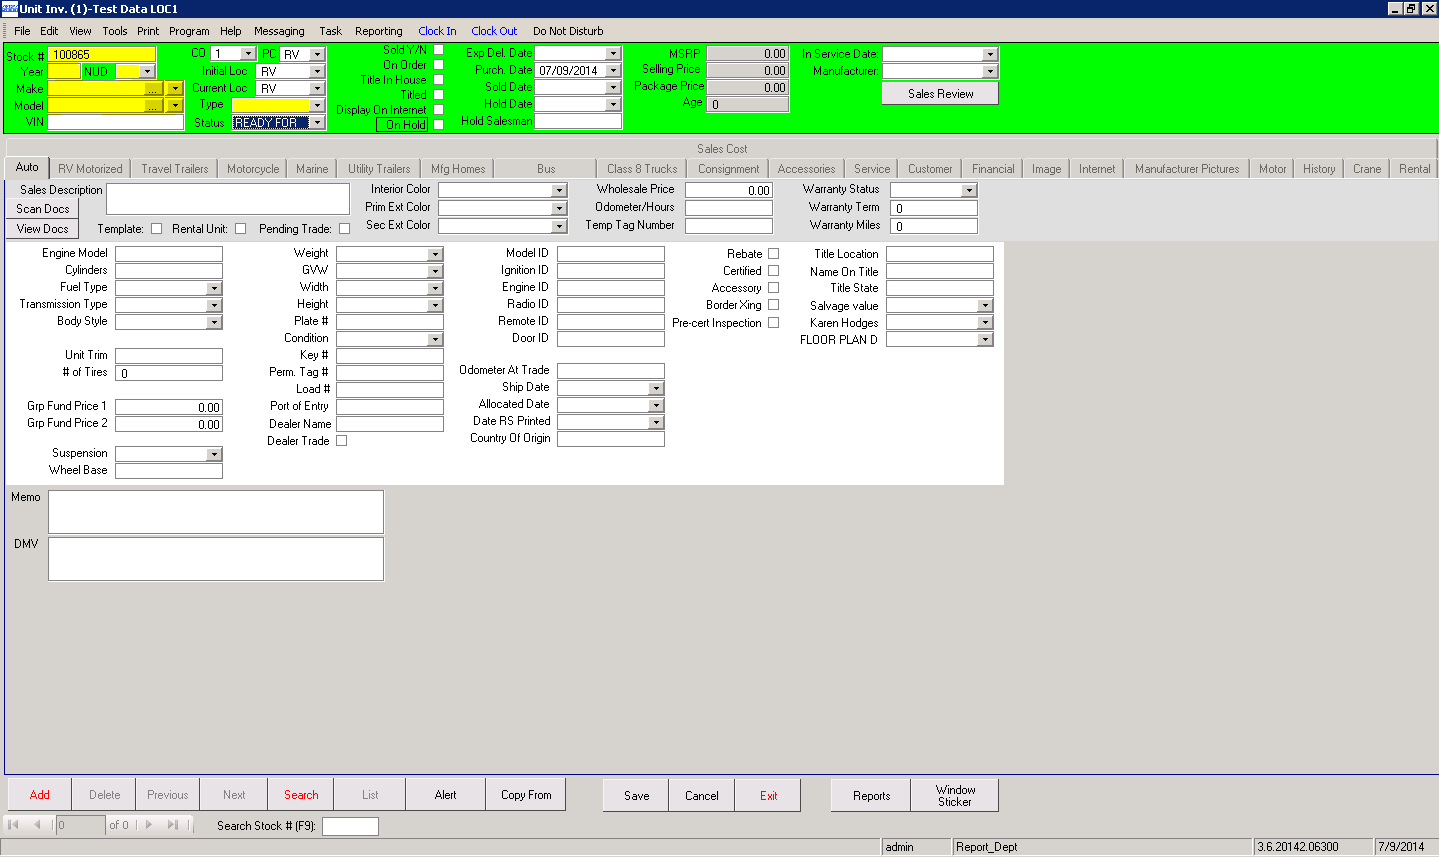
The Unit Inventory module is the module that will contain all of the units/vehicles profiles and any fiscal figures. User’s can Search for any unit in their inventory and Saving will add the unit into the dealership’s inventory and save any changes.
A user can add a unit to inventory by clicking on the “Add” button in the lower left corner. This will reveal all the fields that can be modified. This will also give the user the opportunity to have the system place in a stock number for them or they can enter their own.
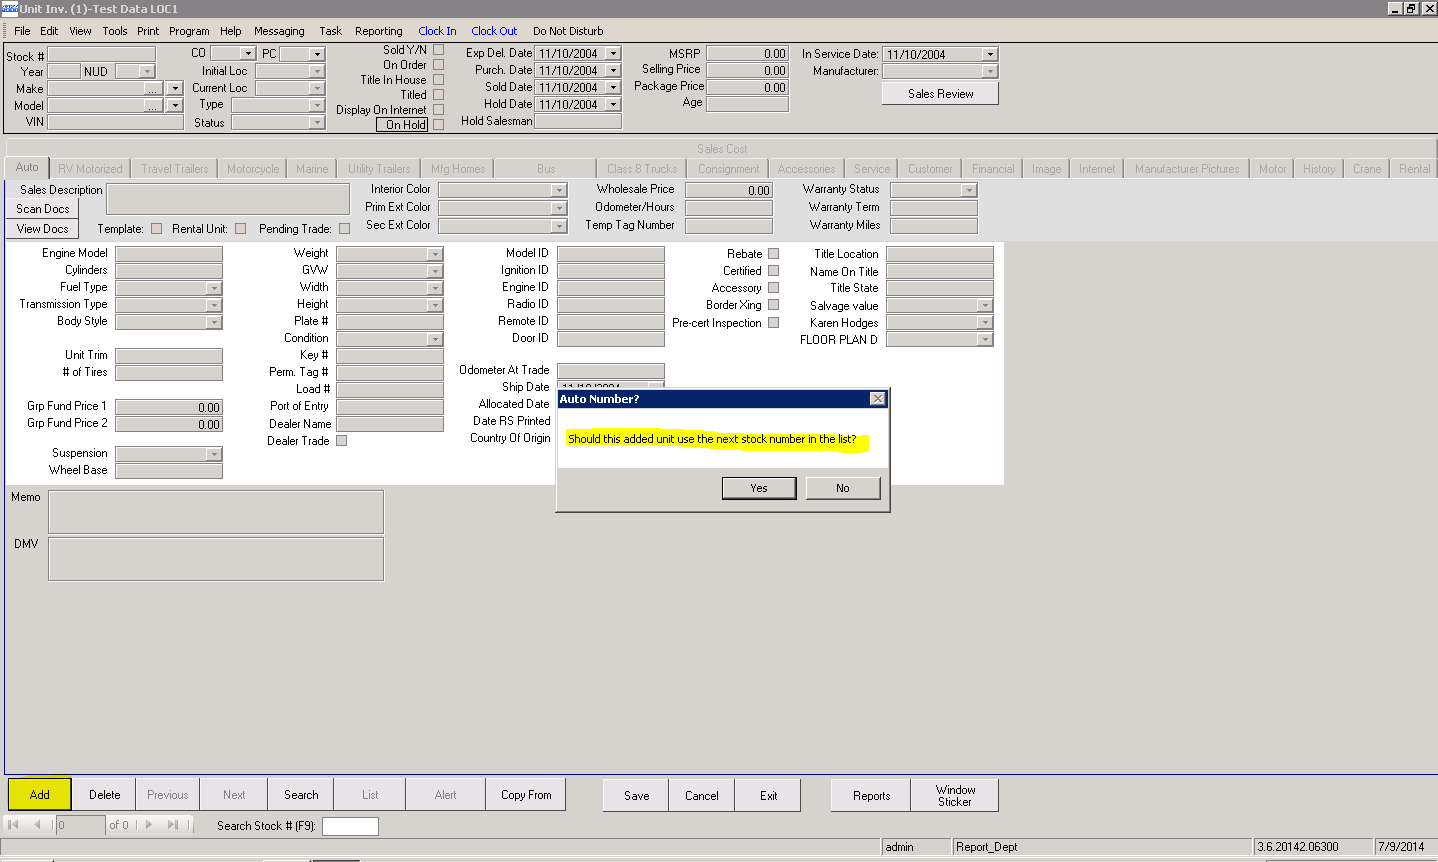
At this point all the information for a unit can be placed into its corresponding fields (Year, Make, Model, etc).
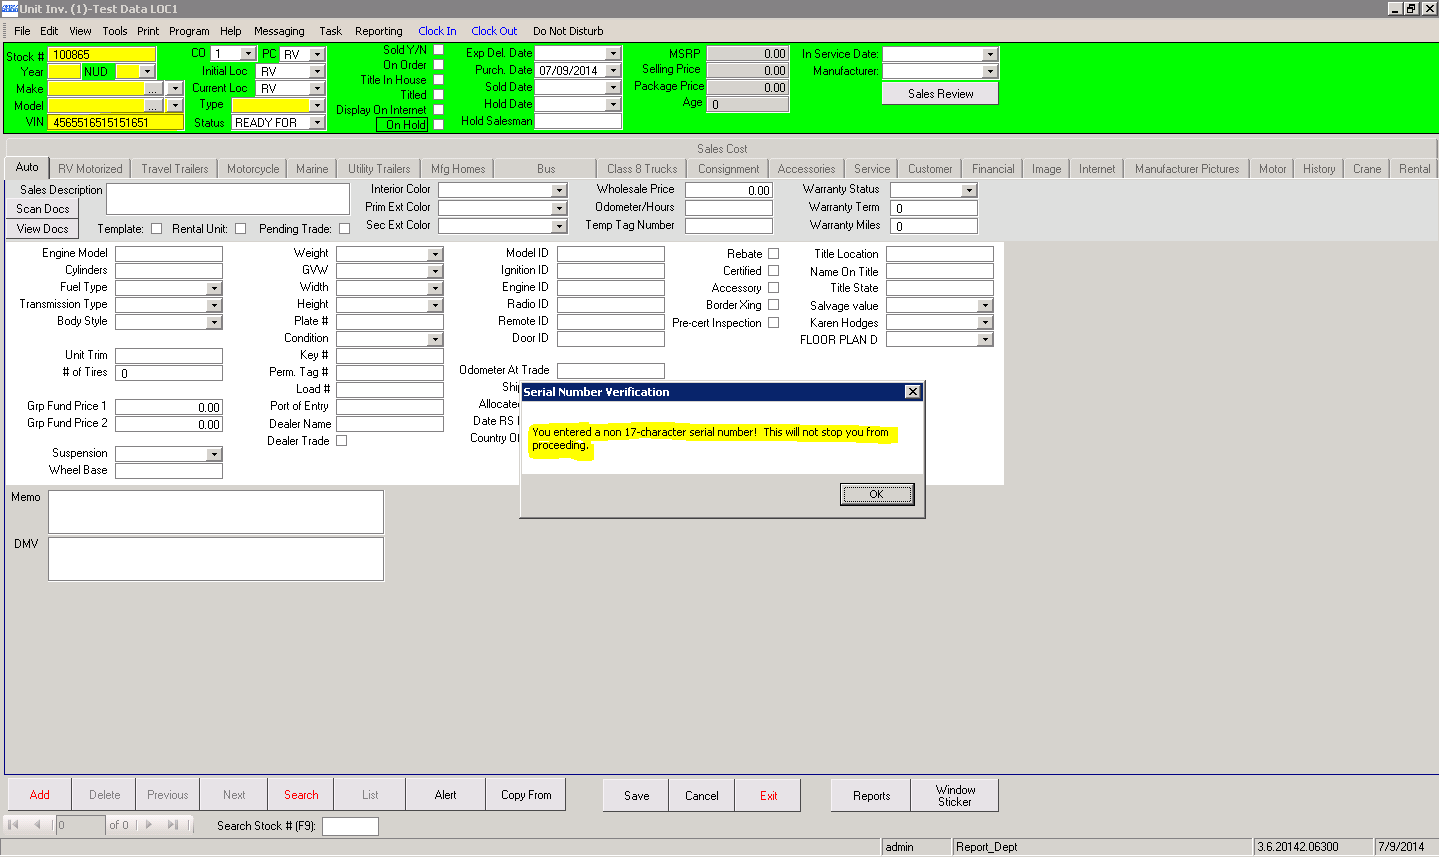
The VIN field will automatically detect if the VIN is a “correct/proper” VIN number. It will turn red if it is not, as a heads up to the user that there is something incorrect about the VIN for the vehicle. An example would be if its more than 17 characters, less than 17 characters, or has an incorrect character used (question mark, exclamation point, etc.). This will not stop a user from proceeding to enter in the Vehicle. The system understands that some units in the past did not meet those criteria when it came to the VIN number. It will still turn the field red just as an FYI.
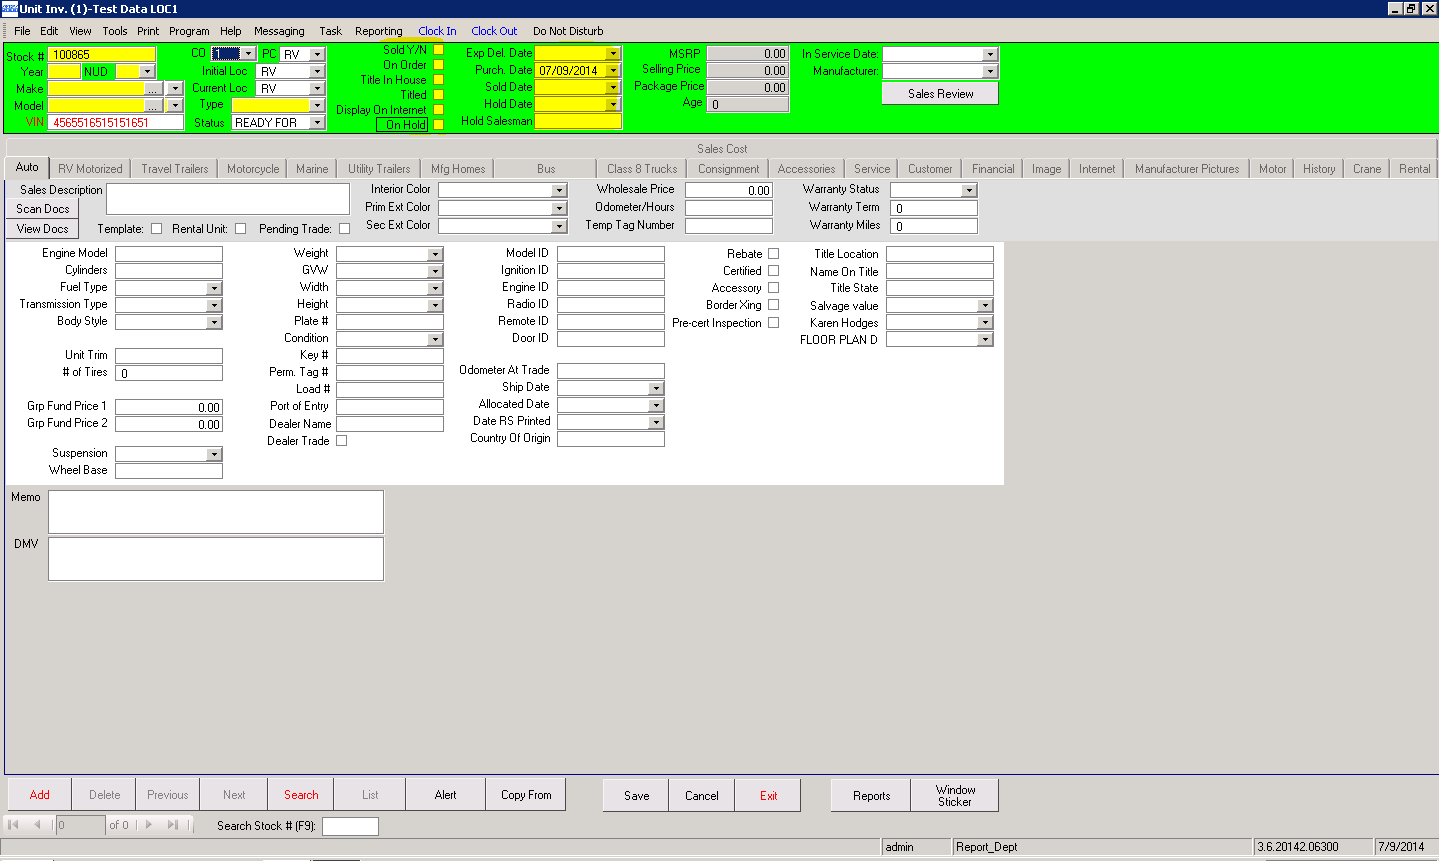
Any of the checkbox information can be done manually, but will also auto-populate from Deal Desking module once this unit is placed onto a deal. Examples would be the check boxes for Sold Y/N or On Hold. The same goes for the dates, they will auto-populate once the unit meets the criteria for each field. If a unit is on hold for a deal by a salesperson, it will give that salesperson username and the deal the unit is currently on.
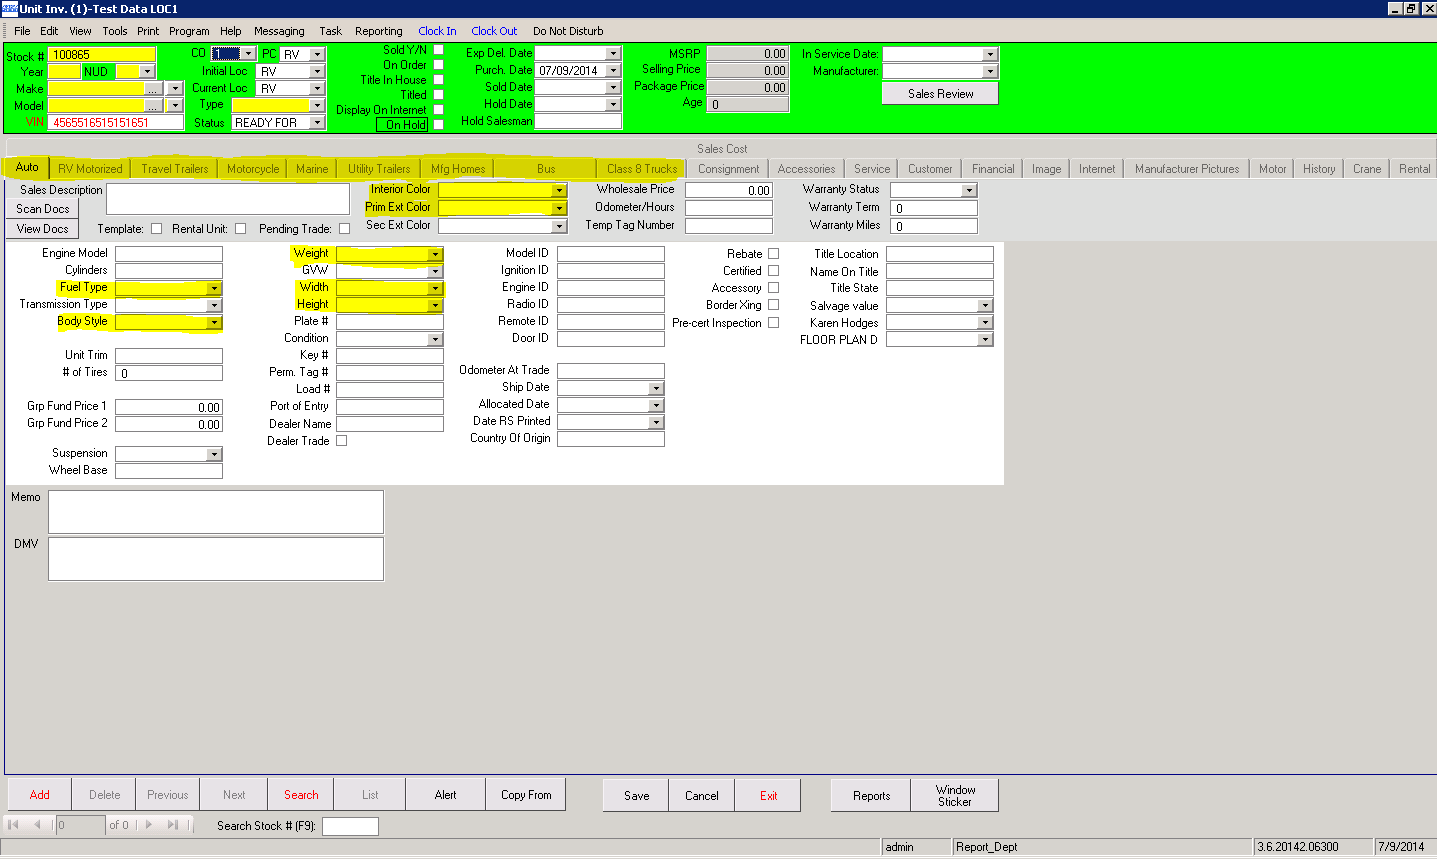
In the tabs, the first few tabs are used for any additional information about the unit and the different “types” of unit (Auto, RV Motorized, Travel Trailers, Bus, etc). Examples would be the Interior and Exterior colors of the unit, the Weight, Height, and Width, and any Fuel Types or Body Styles. There are many different fields for customization for each stock number. This information can be used when a user wants to print this out for a “Window Sticker”. We can also customize the tabs so that the dealership will only see the tabs for the types of units they sell at their dealership.
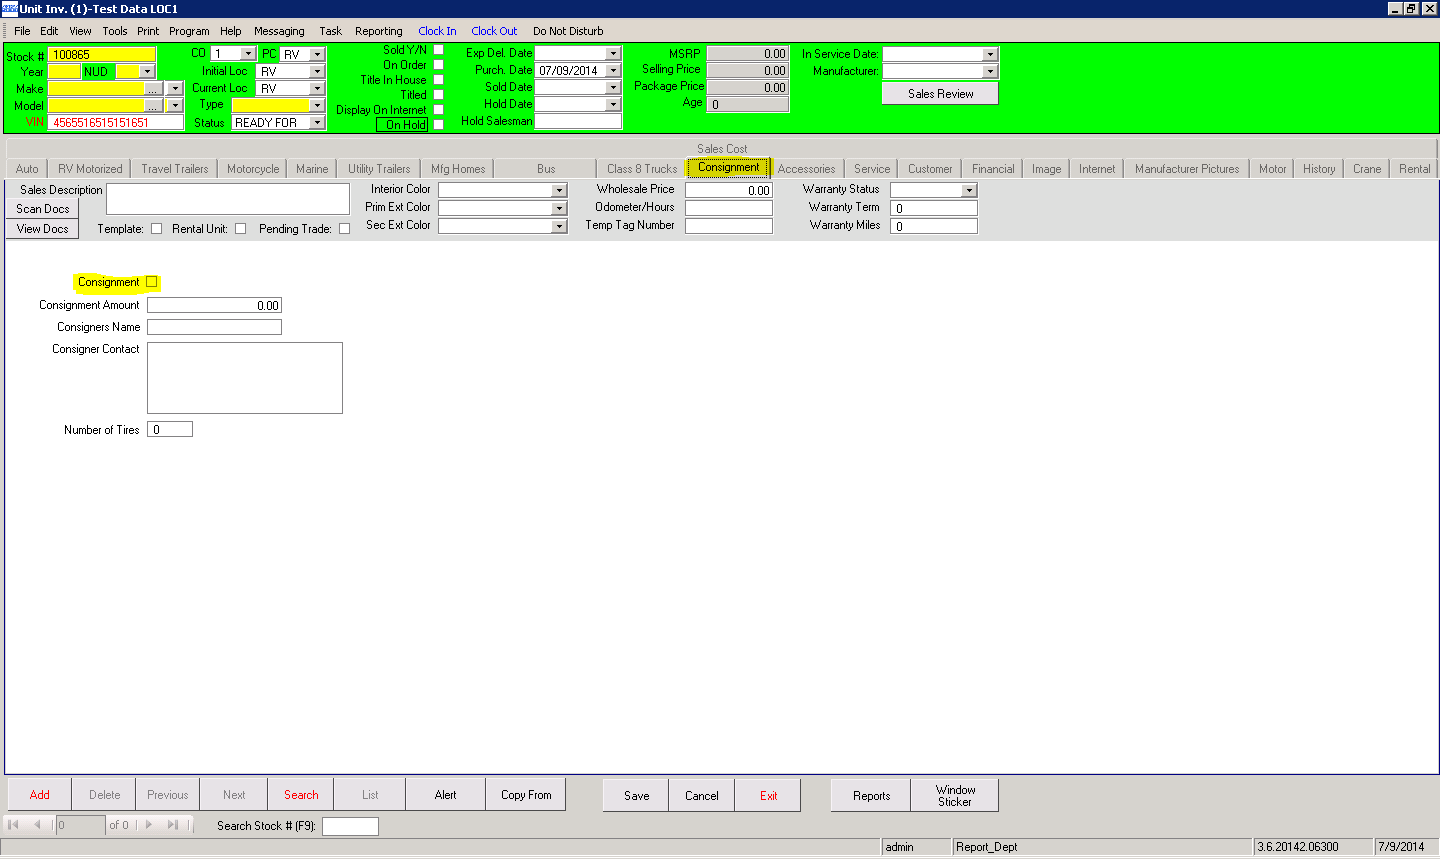
Unit Inventory is also capable of doing consignments. With the Consignments Tab they can check the box marked consignments and it will turn the tab red. This is giving the user a heads up that the unit is a “Consignment” Unit and “Not” part of their Inventory. This will also remove it from any Unit Inventory Reports. To place it back into the Inventory they can simply uncheck it.
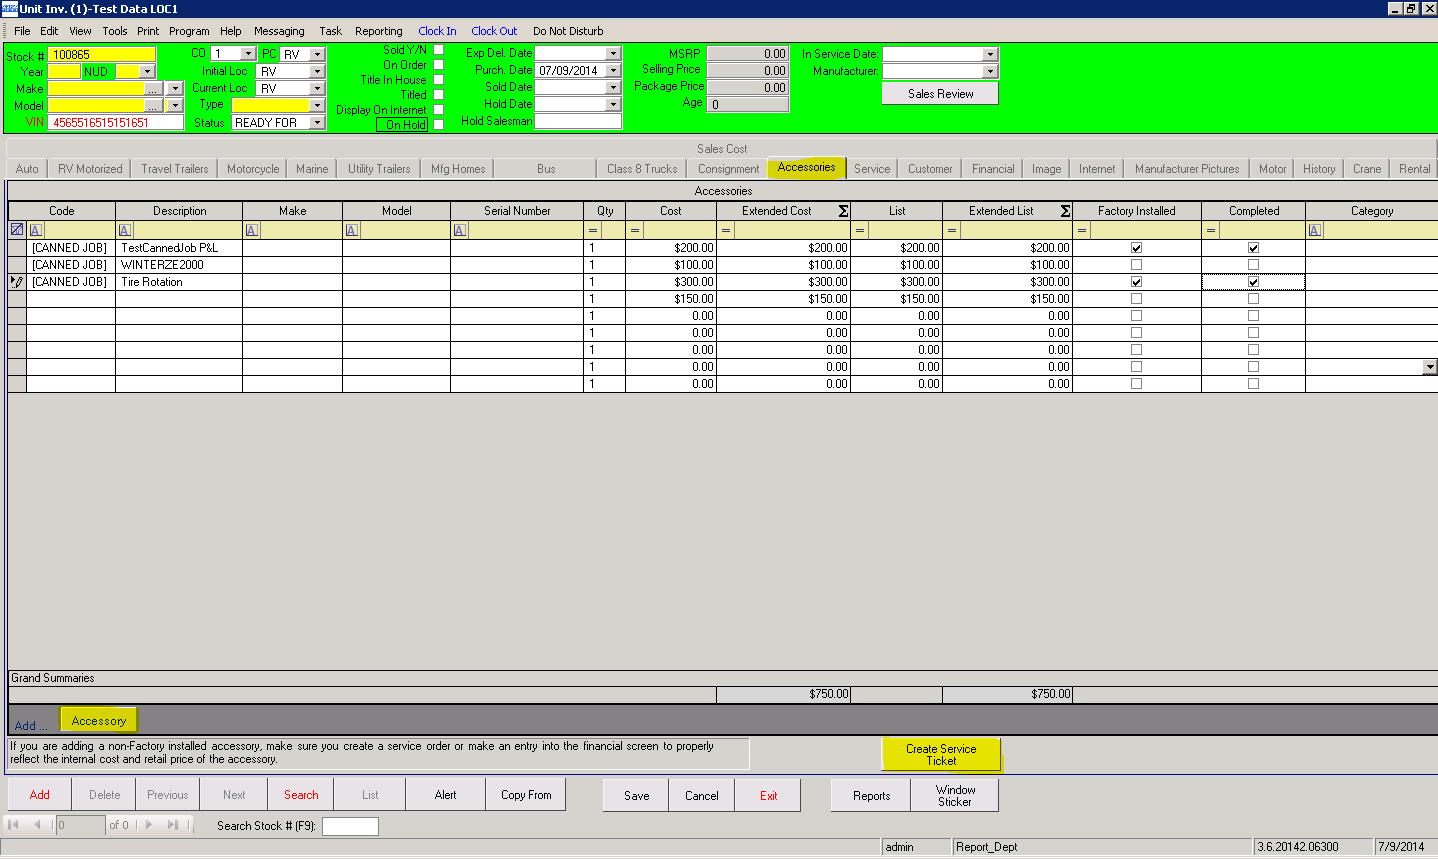
Accessories can be applied to a unit. If it is Factory Installed it can be checked off as such. If it’s not Factory Installed a Service RO can be started directly from this tab to properly reflect the Internal Cost and Retail Price of the Accessory.
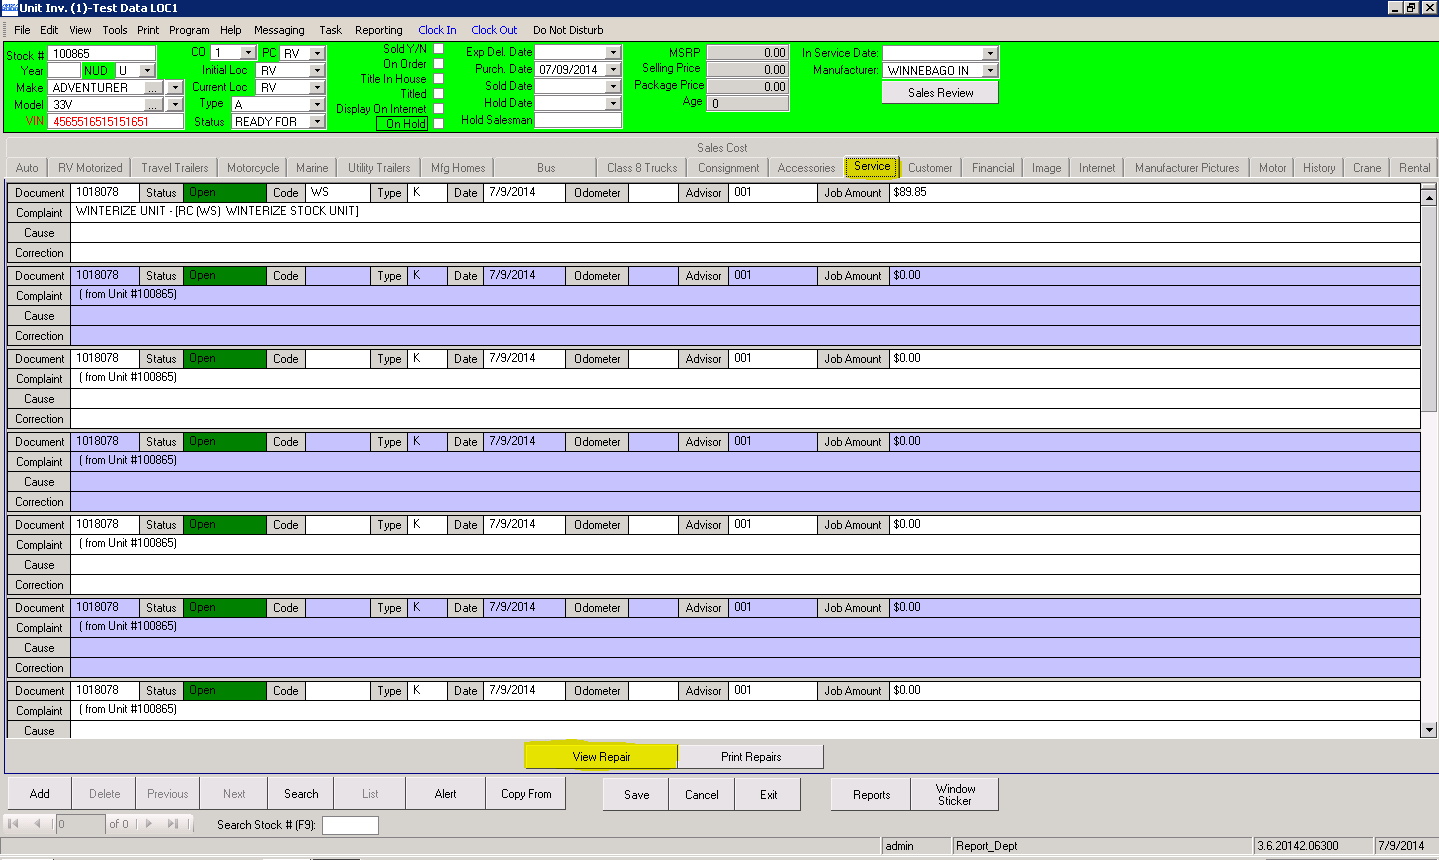
Service RO’s on a unit will also show on the Service Tab for keeping track of the progress. You can view the Repair order directly from this tab.
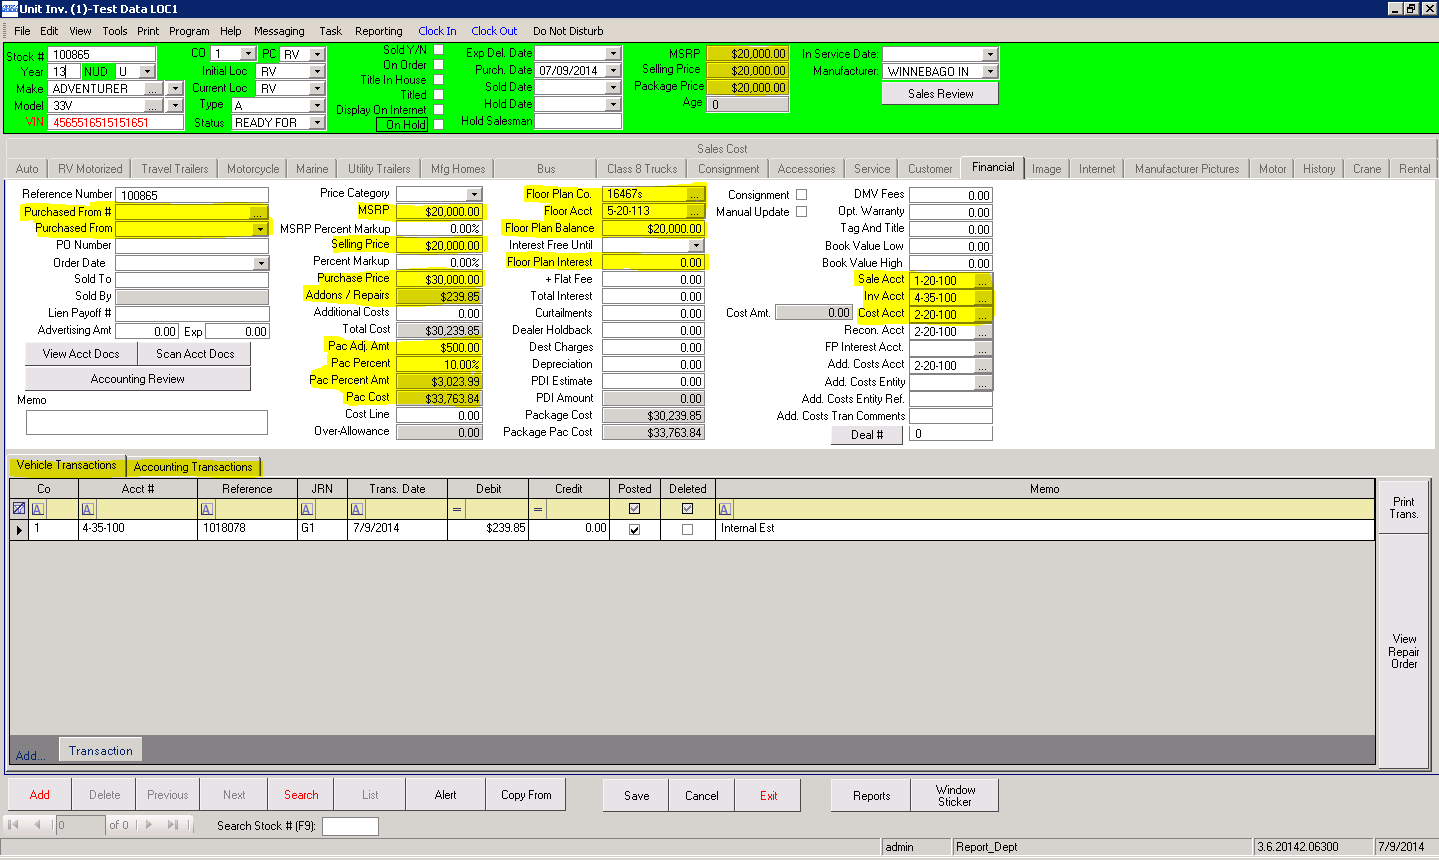
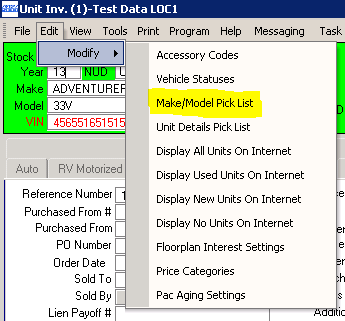
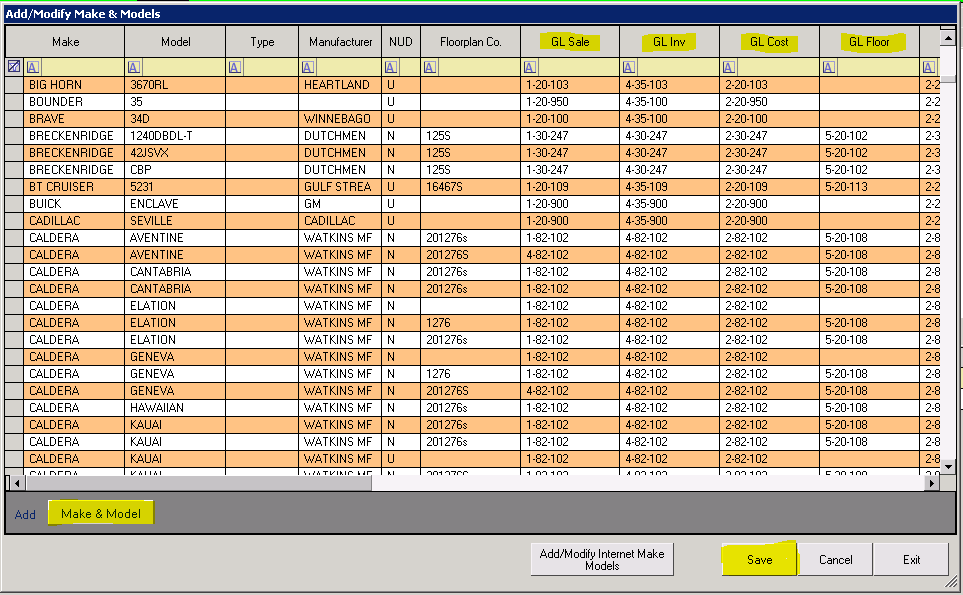
The Financial Tab is where most of the time in the Unit Inventory module will be spent. This is where all the fiscal amounts of the unit will be placed. Things such as the MSRP, Selling, and Purchase price will be entered here. This is also where a user can enter any PAC amounts to the unit. If a unit is floored, they can enter the Floorplan Company and GL account that the Floorplan is attached to. This will allow any payments toward that floorplan company to be able to record it in the Check Writer of the Accounting Module. The same rule applies with Floorplan Interest on Units as well. If the unit was purchased from an entity other than a Floorplan Company (like an Auction) they can place that information in the Purchased From fields. GL Accounts can be auto-populated on this screen if the Make and Model have been entered into the make and Model Pick List screen in Edit/Modify/Make and Model Pick List. This will allow the GL Accounts such as the Sale, Inv, Cost Accounts to auto-populate once entered in. Any transaction with the unit and also any changes the system will record in the Vehicle Transactions and Accounting Transactions tab. The Accounting Transactions tab has the “Create Accounting Transactions” button to the lower right to create those transactions once a price has been changed.
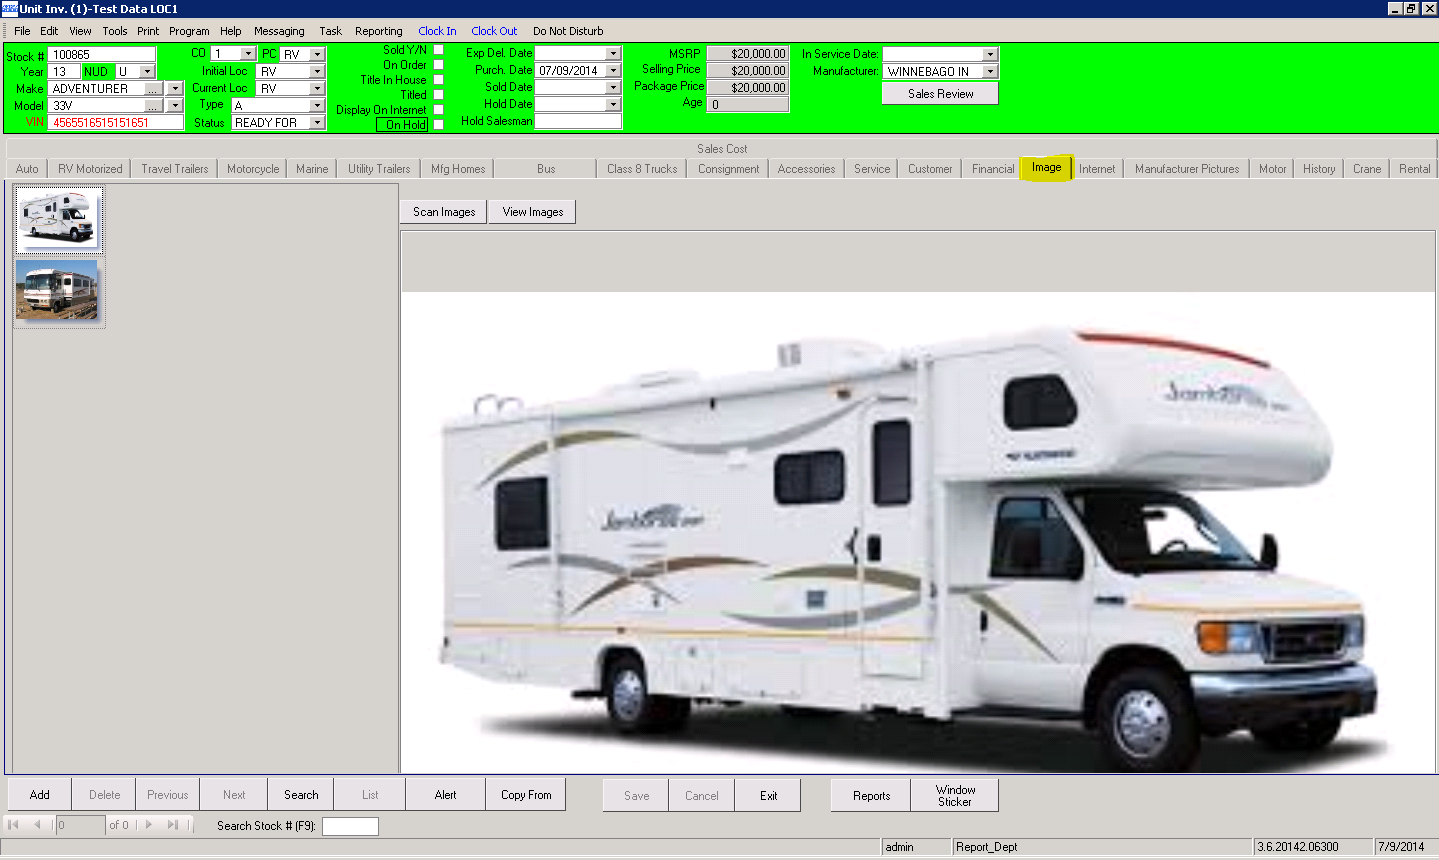
In the Image Tab, a user can apply images of the unit to the unit’s profile. By clicking on View Images, this will open the folder and they can drag and drop any pics of the Unit Into this folder to appear. Smaller versions on the images will appear on the left side, and a larger version of that pic that selected will appear on the right side.
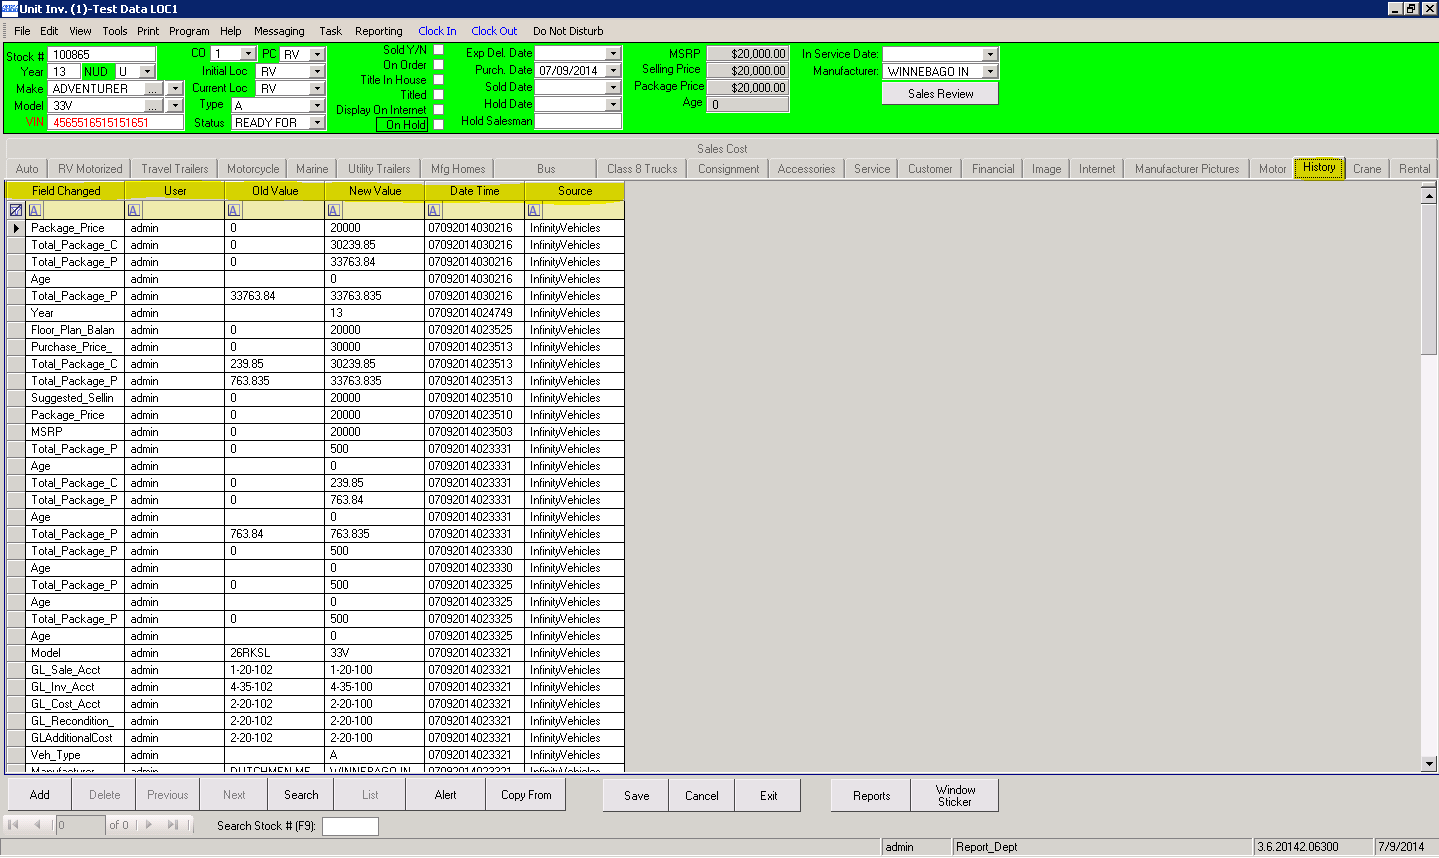
As with all of the modules in the system, the History Tab will keep track of everything on each unit. The History Tab will track the Field Changed, the User who made the change, the Old Value (what it was), the New value (what it was changed to), the Date Time, and the Source (the name of the module).
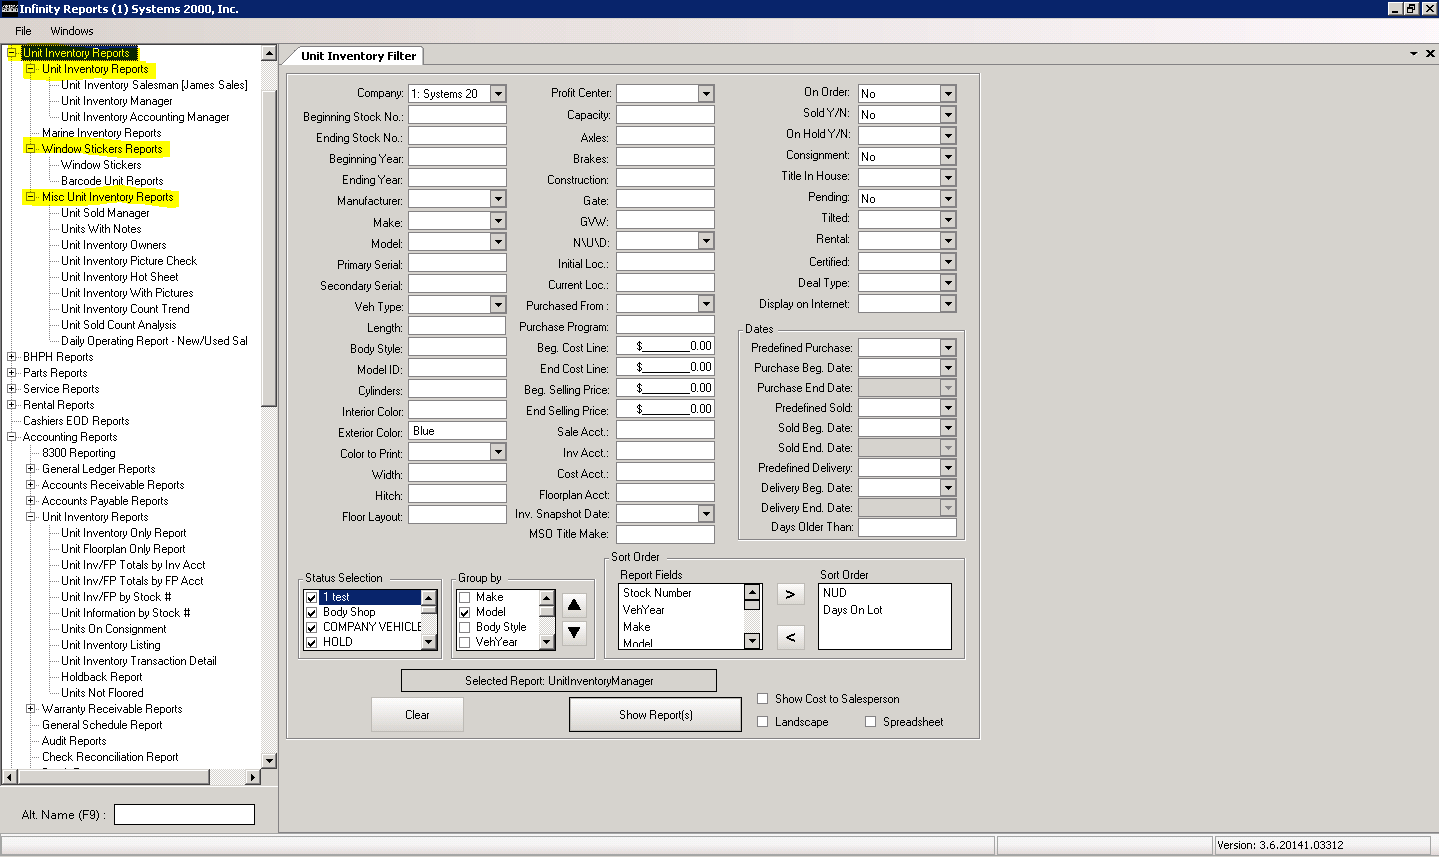
Unit Inventory also has its own set of reports in the system. There are two sections of Unit Inventory reports. One being the basic Unit Inventory Reports which are reports for the units themselves, and the second being under the Accounting Reports for any fiscal reporting information about the Units. Notable widely used reports are the Unit Inventory Manager Report, Window Sticker Reports, Unit Inventory Hot Sheet, and Units on Floorplan.