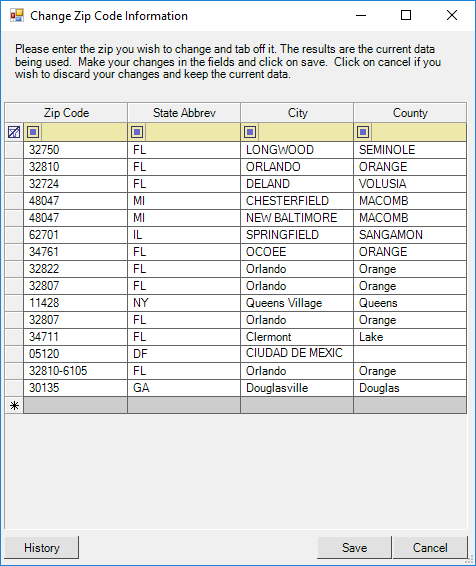
Entering a zip code on an entity's profile will automatically fill in the city and state. Sometimes, the preset town names are not commonly used, so you may want to enter the zip code and applicable information as a custom zip code.
Using a Custom Zip Code on an Entity Profile
Add a Custom Zip Code
- Open the CRM module.
- Select Edit from the menu bar at the top of the screen.
- Choose the Custom Zip Codes option. This will open the zip code information window.

- Click in the starred, blank gray line at the bottom of the list.
- Enter the new zip code number. This will create a new, starred, blank gray row while you are editing. You can enter another new zip code by typing into each new row.
- Enter the state abbreviation where this zip code belongs.
- Enter the city name for the zip code.
- Enter the county where this zip code belongs.
- Click Save to save and exit the window.
Using a Custom Zip Code on an Entity Profile
- Open the CRM module.
- Choose the Add New Contact button on the left side of the screen. This will open a new, blank entity profile.
- As you enter the customer information, skip the city and state to enter the zip code. Once entered, the city and state fields will populate automatically with the city and state information you entered into the custom zip codes list.
