If your email information has been entered into Infinity Reminders, you can customize your sending information using this feature.
Open Email Settings
- Open the CRM module.
- Select Edit from the menu bar at the top of the screen.
- Choose the Email Options / Settings option. This will open the email settings window on the general setup tab.
General Setup Tab
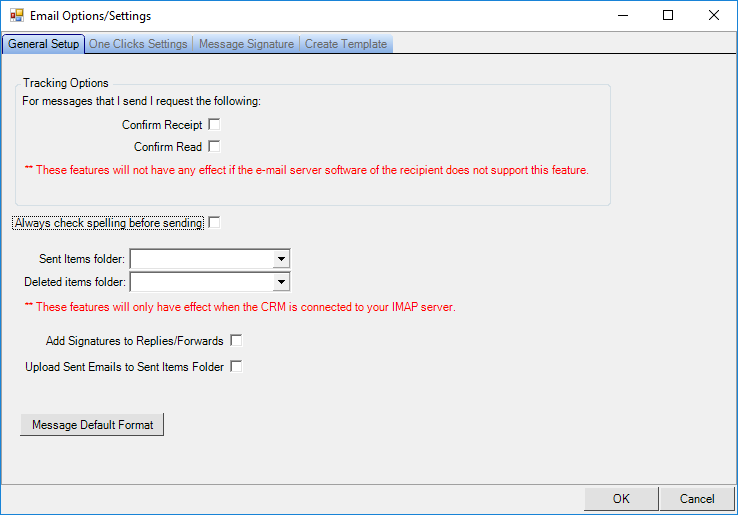
If your email server supports it, you can track the receipt and read of messages that you send.
We recommend to check the box to spellcheck your messages before sending.
If your email is set in Infinity reminders with an IMAP server, you can choose which folder to use for sent or deleted items.
If you want your email signature to be added to replies you send and emails you forward, you can check the relevant box.
If you want emails that you send through Infinity to be uploaded to your email's sent box, check the applicable box.
One Click Settings Tab
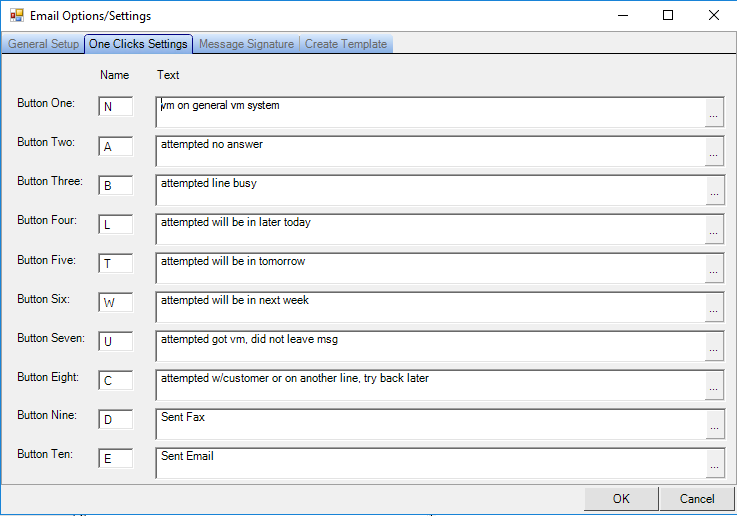
One-click settings are used in various places throughout the program, allowing you to quickly add information you use often to emails and notes. You can customize the letter for the buttons and the text that fills in when the button is pressed.
Message Signature Tab
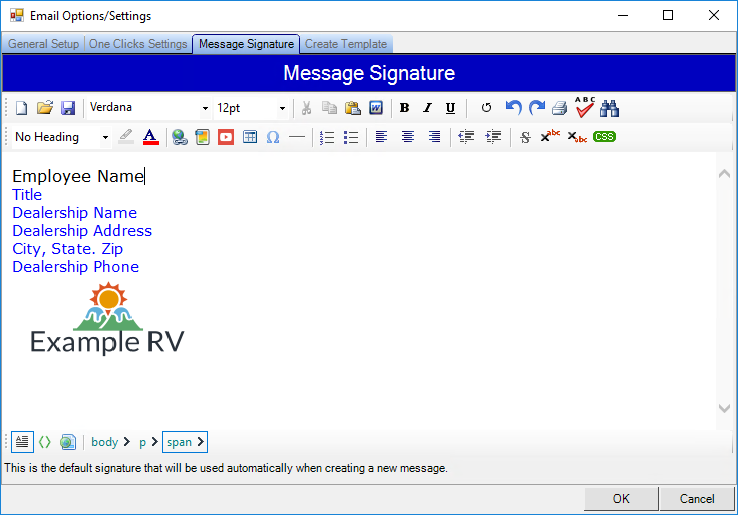
Enter the information that you want to show at the bottom of the emails that you send. Depending on the option selected on the general tab, you can have this signature show on email replies and forwards as well.
Create Template Tab
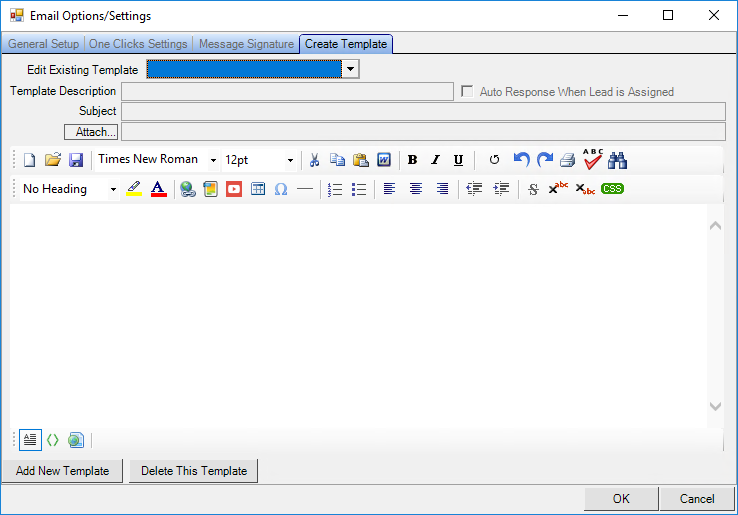
Use the template tab to create private templates to send via email. You can enter text, pictures, and more to the template.
Add a Private Template
- Open the CRM module.
- Select Edit from the menu bar at the top of the screen.
- Choose the Email Options / Settings option.
- Click the Create Template tab.
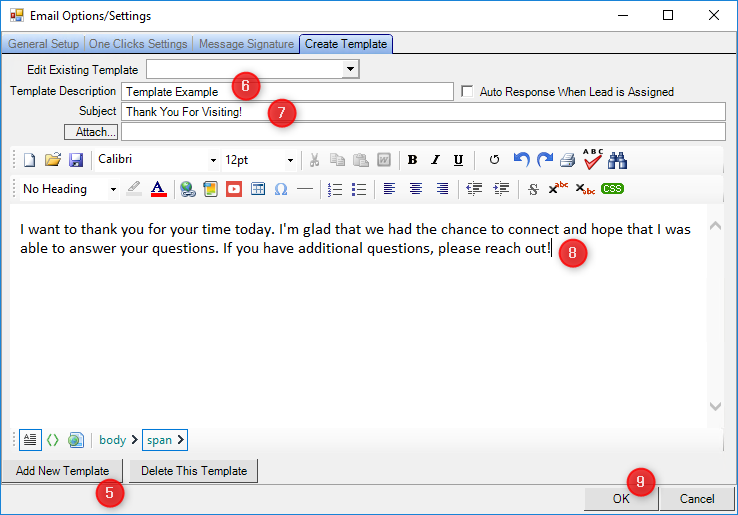
- Click the Add New Template button in the lower left of the window.
- Enter a template description. This is visible only to you and does not show to the email recipient.
- Enter a subject. This will populate in the email subject line and is visible to the email recipient.
- Enter the text that you wish to send into the large text box.
- Click OK to save.
Use Private Template in Email
- Open the CRM module.
- Select the Add New Message button on the left side of the screen. This will open a new, blank email.
- Choose the Private Template option above the text box. You should see the description of the template you created.
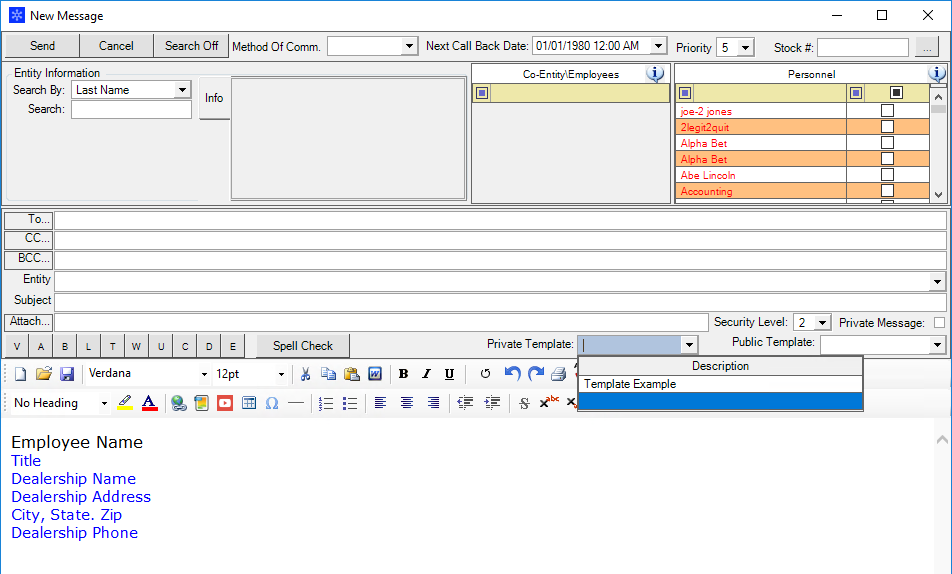
- Click over the template description.
- Click into the text box. You will receive a popup asking if you want to replace the current message (which is blank), or add to the message. You can choose either Yes or No.
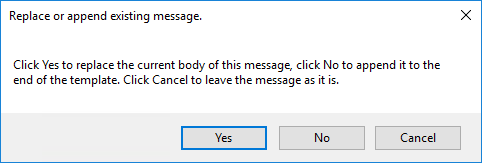
- The private template that you created will populate into your email message. You can customize the text as desired.
